[ad_1]
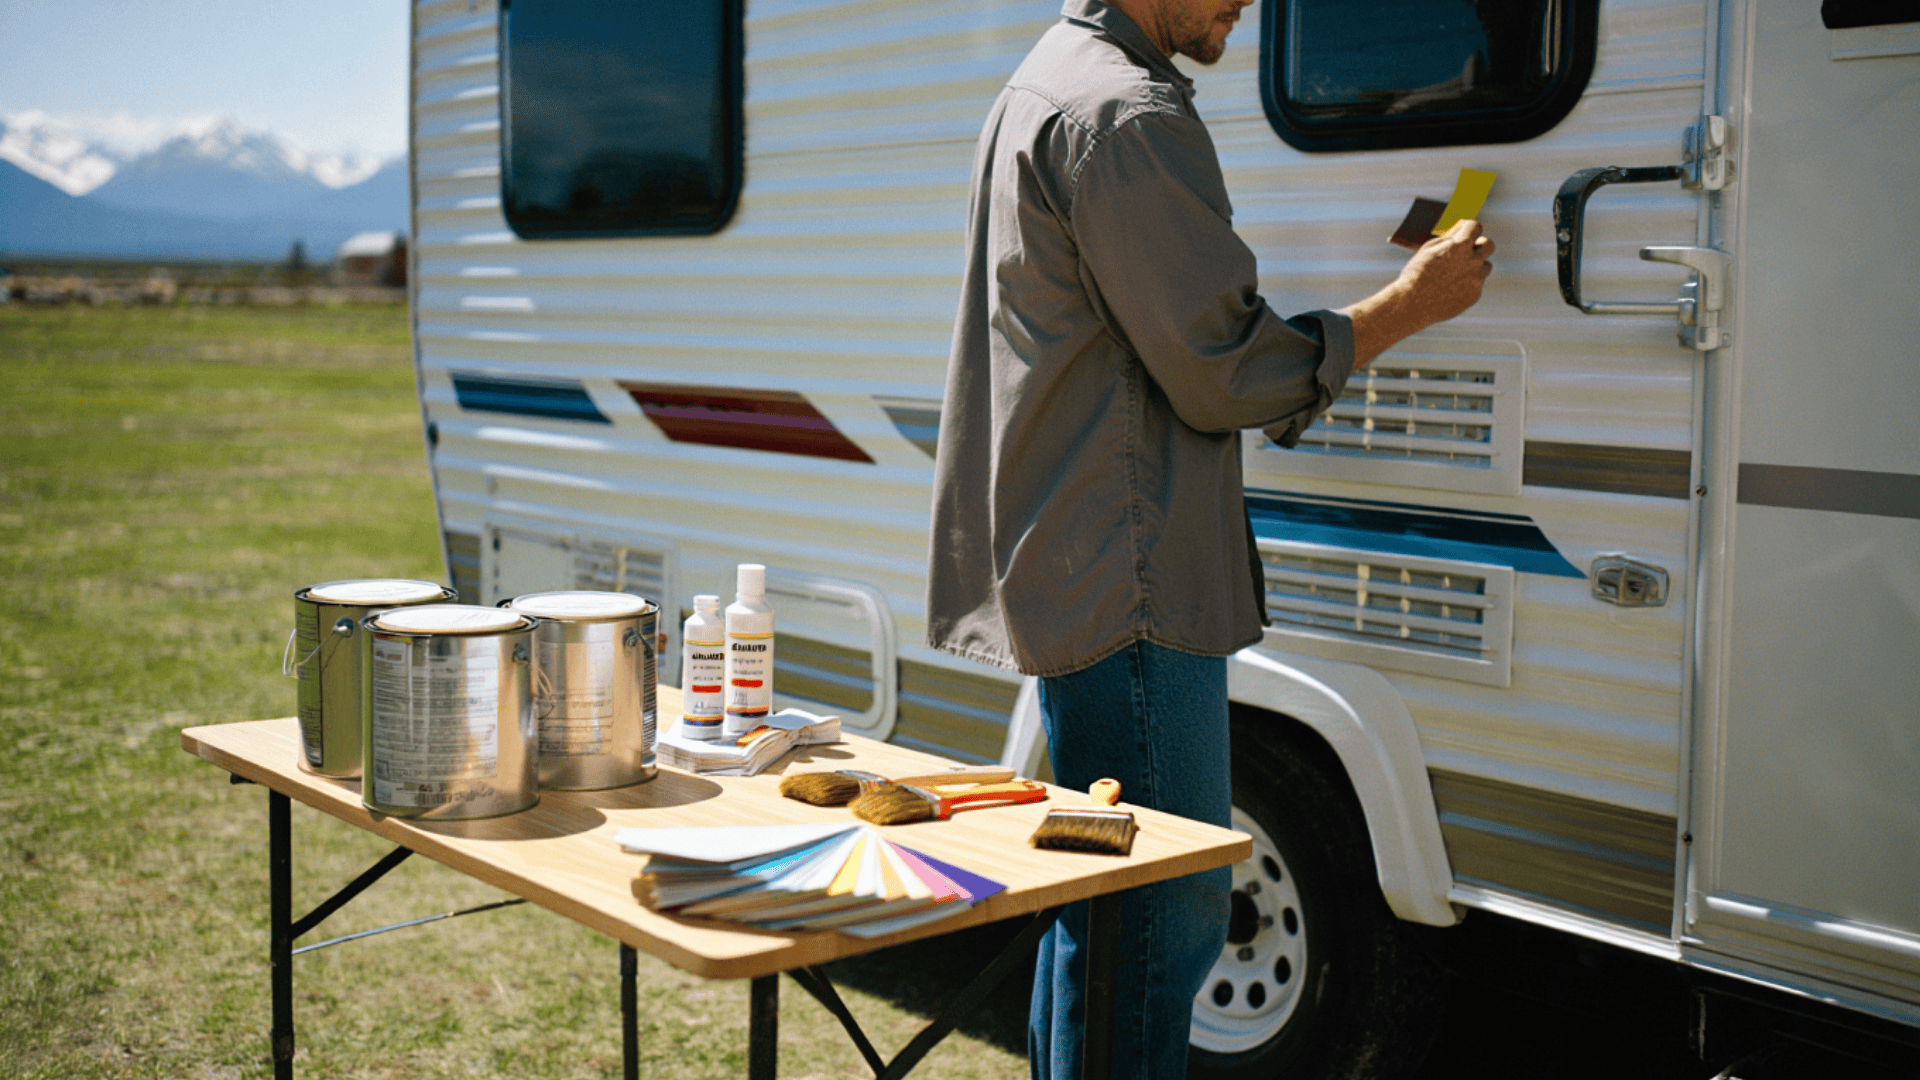
You know, it’s wild how a lot thought truly goes into camper colours lately!
People used to only seize no matter was on the lot, however now of us are getting actually strategic about it.
Take that traditional forest inexperienced; campers find it irresistible as a result of it retains issues cooler than darkish colours and principally vanishes while you’re tucked into the woods.
Then there are these brilliant, cheerful yellows and oranges that simply scream “adventure time!”
Sure, they may present each speck of highway mud, however they make individuals smile at each relaxation cease.
What’s your tenting vibe?
Are you extra of a blend-into-nature kind or a make-a-statement traveler?
Why Does Choosing the Right Exterior Paint Color Matter?
Picking the proper camper colour isn’t nearly appears; it’s a game-changer for consolation and money.
Light colours can maintain your rig 10-15 levels cooler in summer season warmth, whereas darkish ones take in each ray.
There’s even a psychology angle: blues and greens maintain issues zen, brilliant colours pump up the journey vibes.
Then there’s resale worth. Neutral tones enchantment to everybody, however that neon purple may scare off future consumers.
Plus, heat-trapping darkish colours can overwork your AC and value extra in repairs.
Smart colour selection means higher tenting and higher resale down the highway.
Key Considerations Before Painting
Before you crack open that first paint can, these key concerns will prevent from expensive errors and guarantee a professional-looking end.
- Surface Material: Aluminum wants etching primer, fiberglass requires versatile paint, and wooden calls for moisture-blocking formulation; one measurement doesn’t match all.
- Climate and Exposure: UV-resistant and waterproof paints are non-negotiable for RVs dealing with solar, rain, and highway salt year-round.
- Desired Finish: Matte hides imperfections however reveals dust; gloss appears sharp however highlights flaws; satin presents the most effective steadiness.
- Application Method: Spray provides clean protection however requires masking; brush/curler is forgiving however might present texture.
- Primer Necessity: Never skip primer—it’s your paint’s basis for adhesion and longevity.
Getting these fundamentals proper up entrance means your paint job will look nice and final for years of adventures forward.
Best Paint Schemes for Your Camper Exterior
Selecting the proper paint scheme makes an abnormal camper right into a hanging journey companion.
The proper colours can mirror your persona whereas offering sensible advantages on your crusades.
Here are 5 paint schemes that camper fans advocate for each type and performance.
1. Classic White with Blue Accents
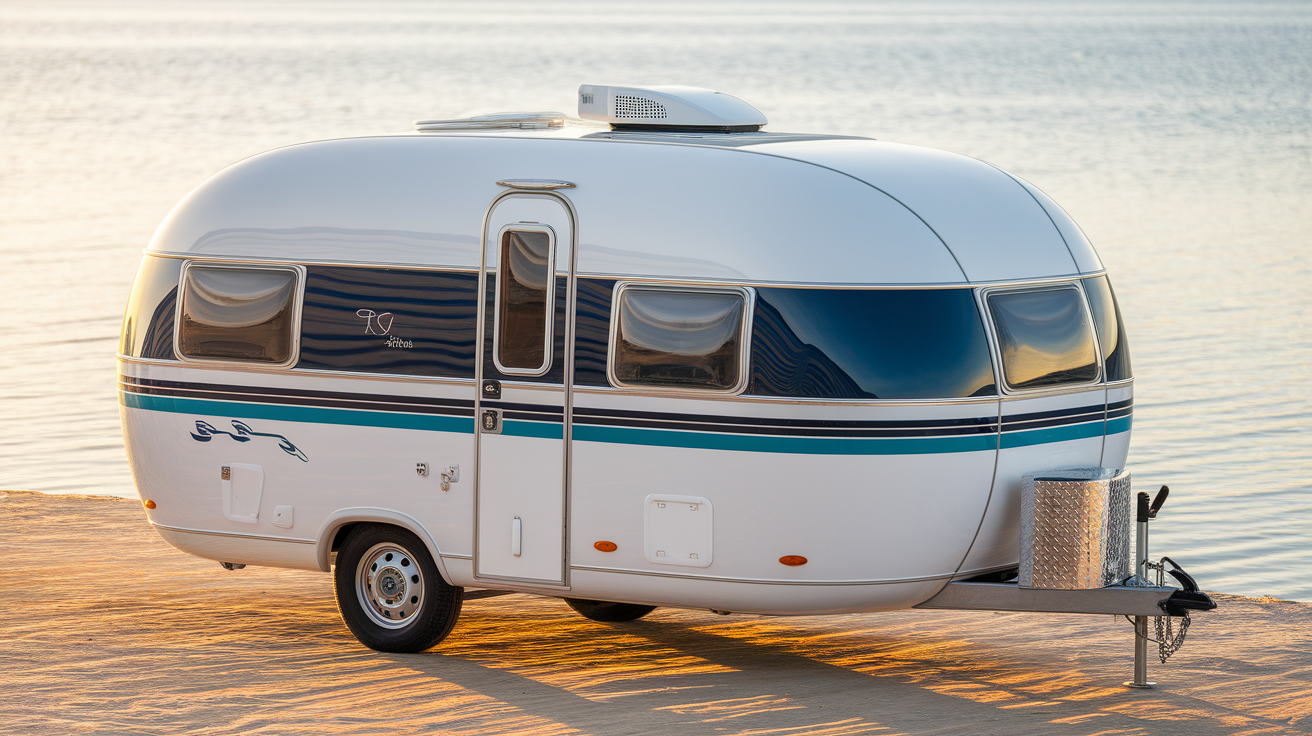
White serves as a wonderful base colour for any camper.
It displays daylight, serving to maintain the inside cooler throughout sizzling summer season days.
Adding navy blue or teal accents creates a timeless nautical look that by no means goes out of fashion.
This mixture works particularly effectively close to seashores or lakes, giving your camper a recent, clear look that stands out with out being too flashy.
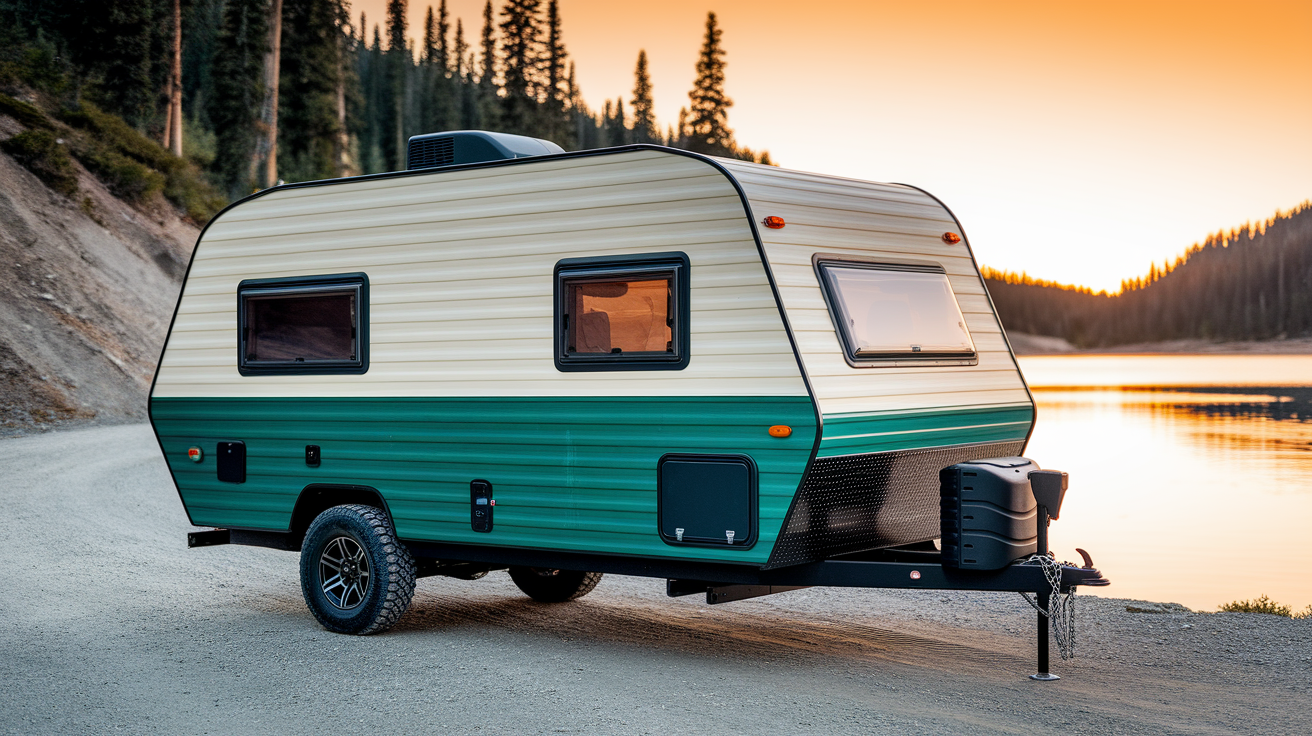
2. Earth Tone Gradient
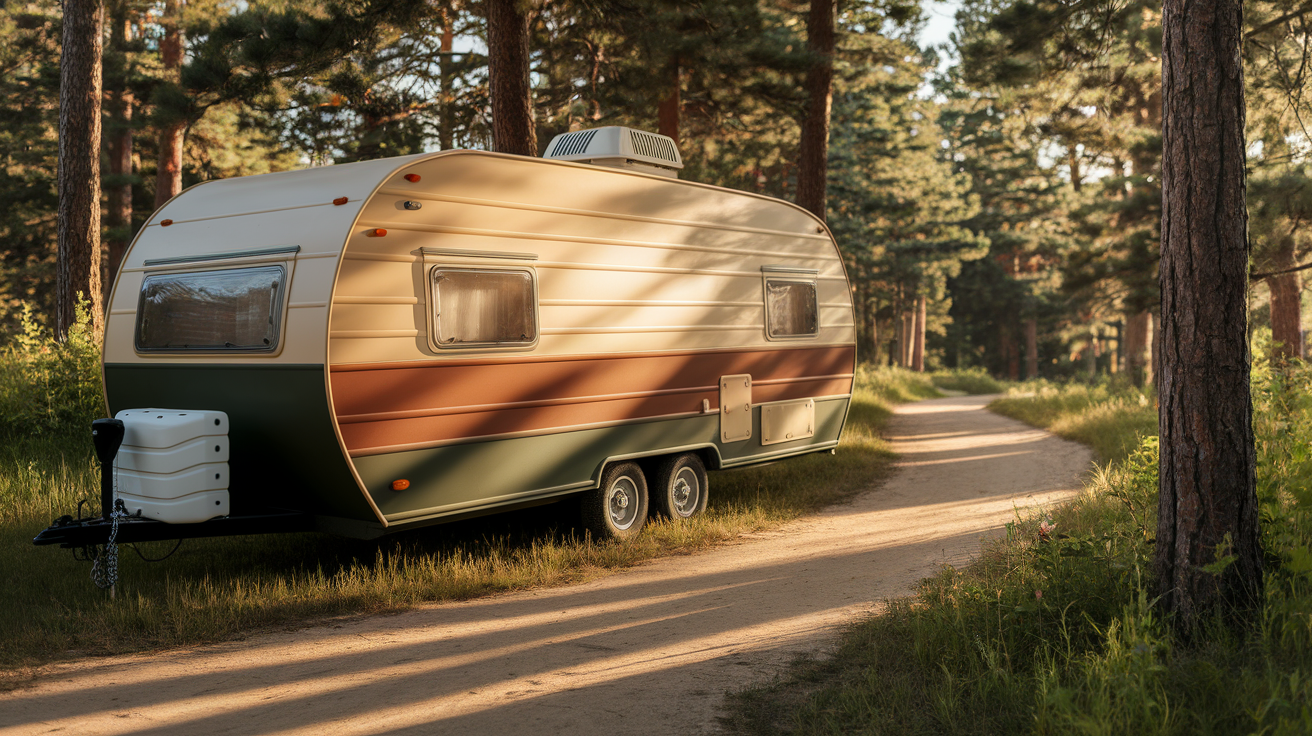
Natural brown, tan, and inexperienced tones assist your camper mix with out of doors environment.
This scheme makes use of a gradient impact, with darker earth tones on the underside fading to lighter shades towards the highest.
This sensible design disguises dust and dirt splatters from roads whereas making a unified look in campgrounds.
Perfect for many who choose a extra delicate, nature-inspired aesthetic.
3. Desert Sunset Palette
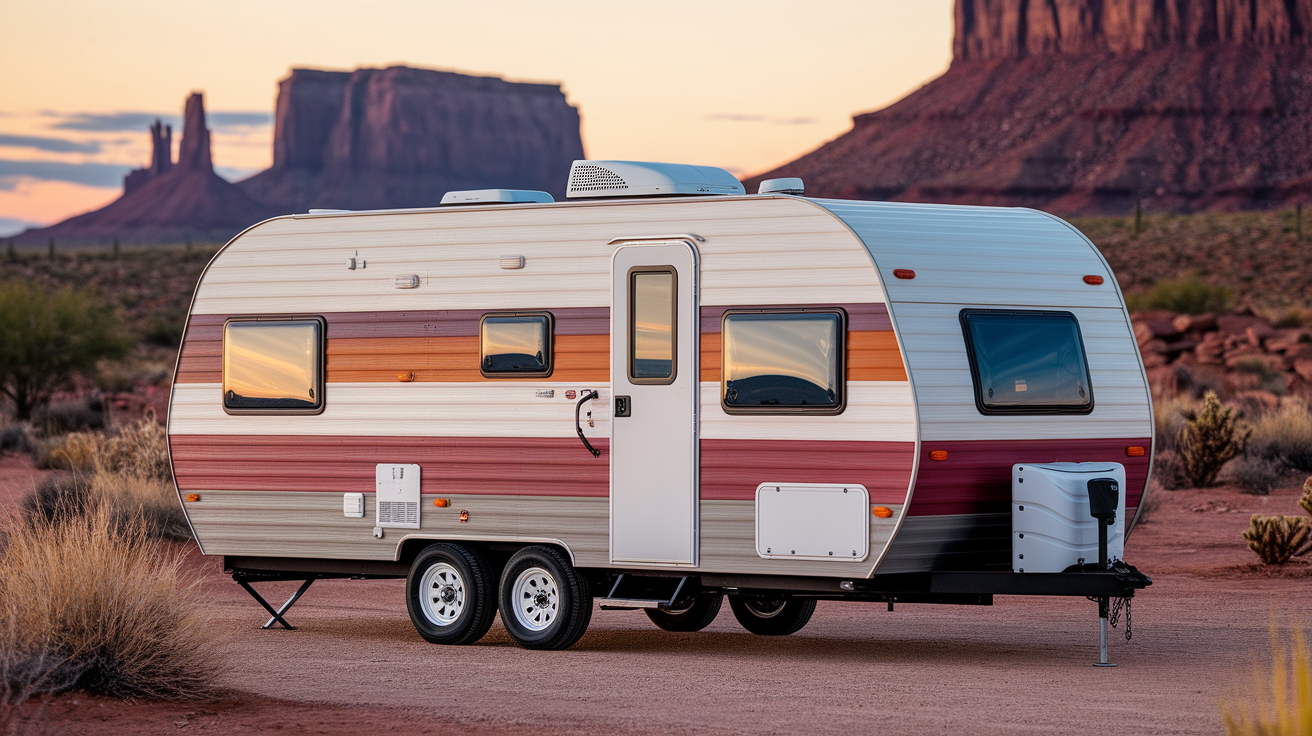
Inspired by southwestern landscapes, this scheme combines sandy beige as a base with accents in burnt orange, dusty crimson, and purple shades.
These heat colours create a welcoming exterior that captures the great thing about desert sunsets.
The lighter base nonetheless gives good warmth reflection, whereas the colourful accents add persona with out overwhelming the camper’s look.
4. Modern Monochrome
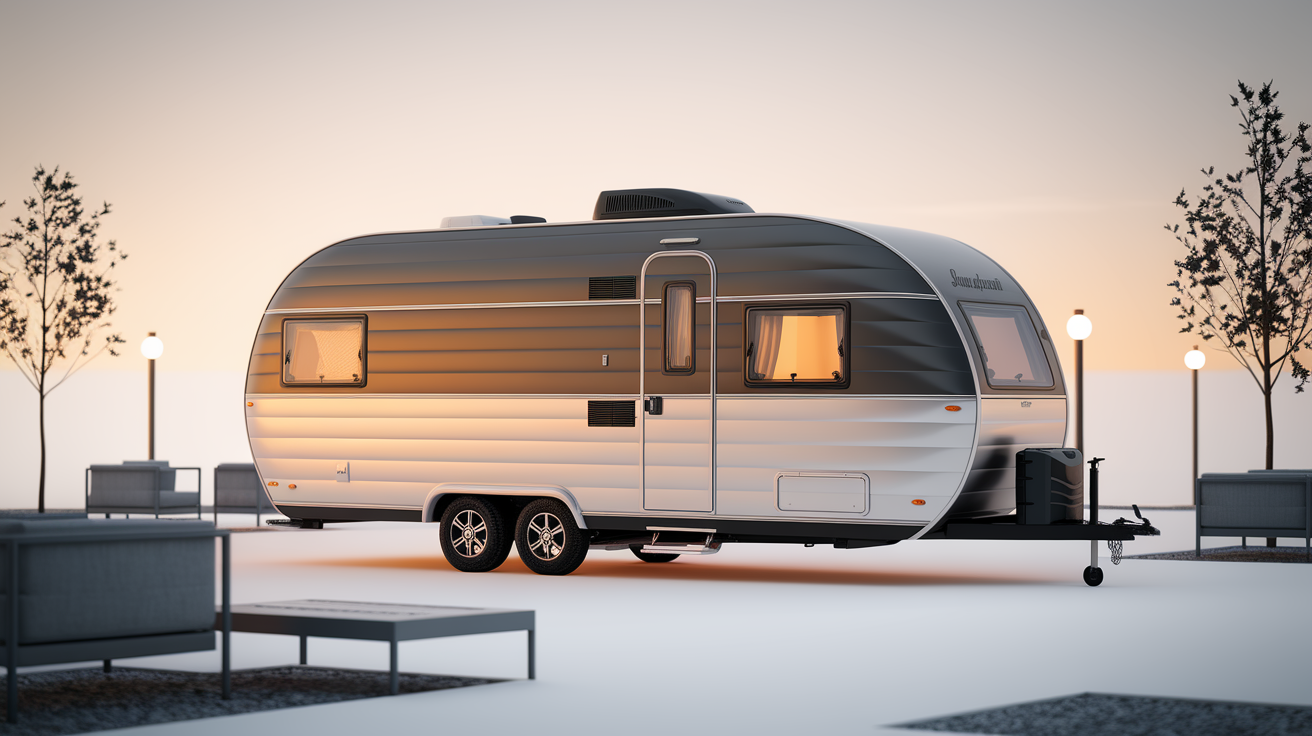
Sleek and classy, this scheme makes use of various shades of a single colour—usually grey, blue, or inexperienced—to create a contemporary, minimalist look.
The darkest shade seems on the backside (the place dust reveals most), with progressively lighter shades shifting upward.
This creates a up to date look that seems intentional and designer-approved relatively than plain.
5. Two-Tone Block Pattern
This daring strategy divides the camper into two distinct colour blocks—usually with a darker colour on the underside half and a lighter shade on high.
Popular mixtures embrace charcoal/white, navy/cream, or forest inexperienced/tan.
This sensible design hides highway grime on the decrease half whereas sustaining a cooler inside with the lighter higher portion.
How to Paint Your Camper Exterior Like a Pro?
Painting a camper exterior requires cautious planning and correct strategies to attain long-lasting outcomes.
The proper strategy ensures your paint job withstands the weather whereas wanting skilled.
This information walks by way of the important steps to transform your camper’s look.
Tools and Materials Required
Here are all of the instruments and supplies you’ll want earlier than beginning your camper portray venture:
| TOOLS | MATERIALS |
|---|---|
| Heat gun | Exterior primer (appropriate for fiberglass, e.g., Behr) |
| Glass scraper (with knife and flat sides) | Exterior paint (semi-gloss: Stucco Tan, Navy Blue, Burberry Teal, Maple Glaze) |
| 120-grit sandpaper | Oil-based paint for wheels (white) |
| Painter’s tape | Exterior black spray paint (for hubcaps, tongue, bumper) |
| Paint curler | Other colour (if required) |
| Paintbrush (for trim and detailed areas) | Graffiti/Stickers/Hangings (if you wish to enhance) |
Step-By-Step Guide to Painting Camper Exterior
Follow these easy steps to make your camper exterior with a clean, professional-looking paint job and get it prepared on your subsequent household journey.
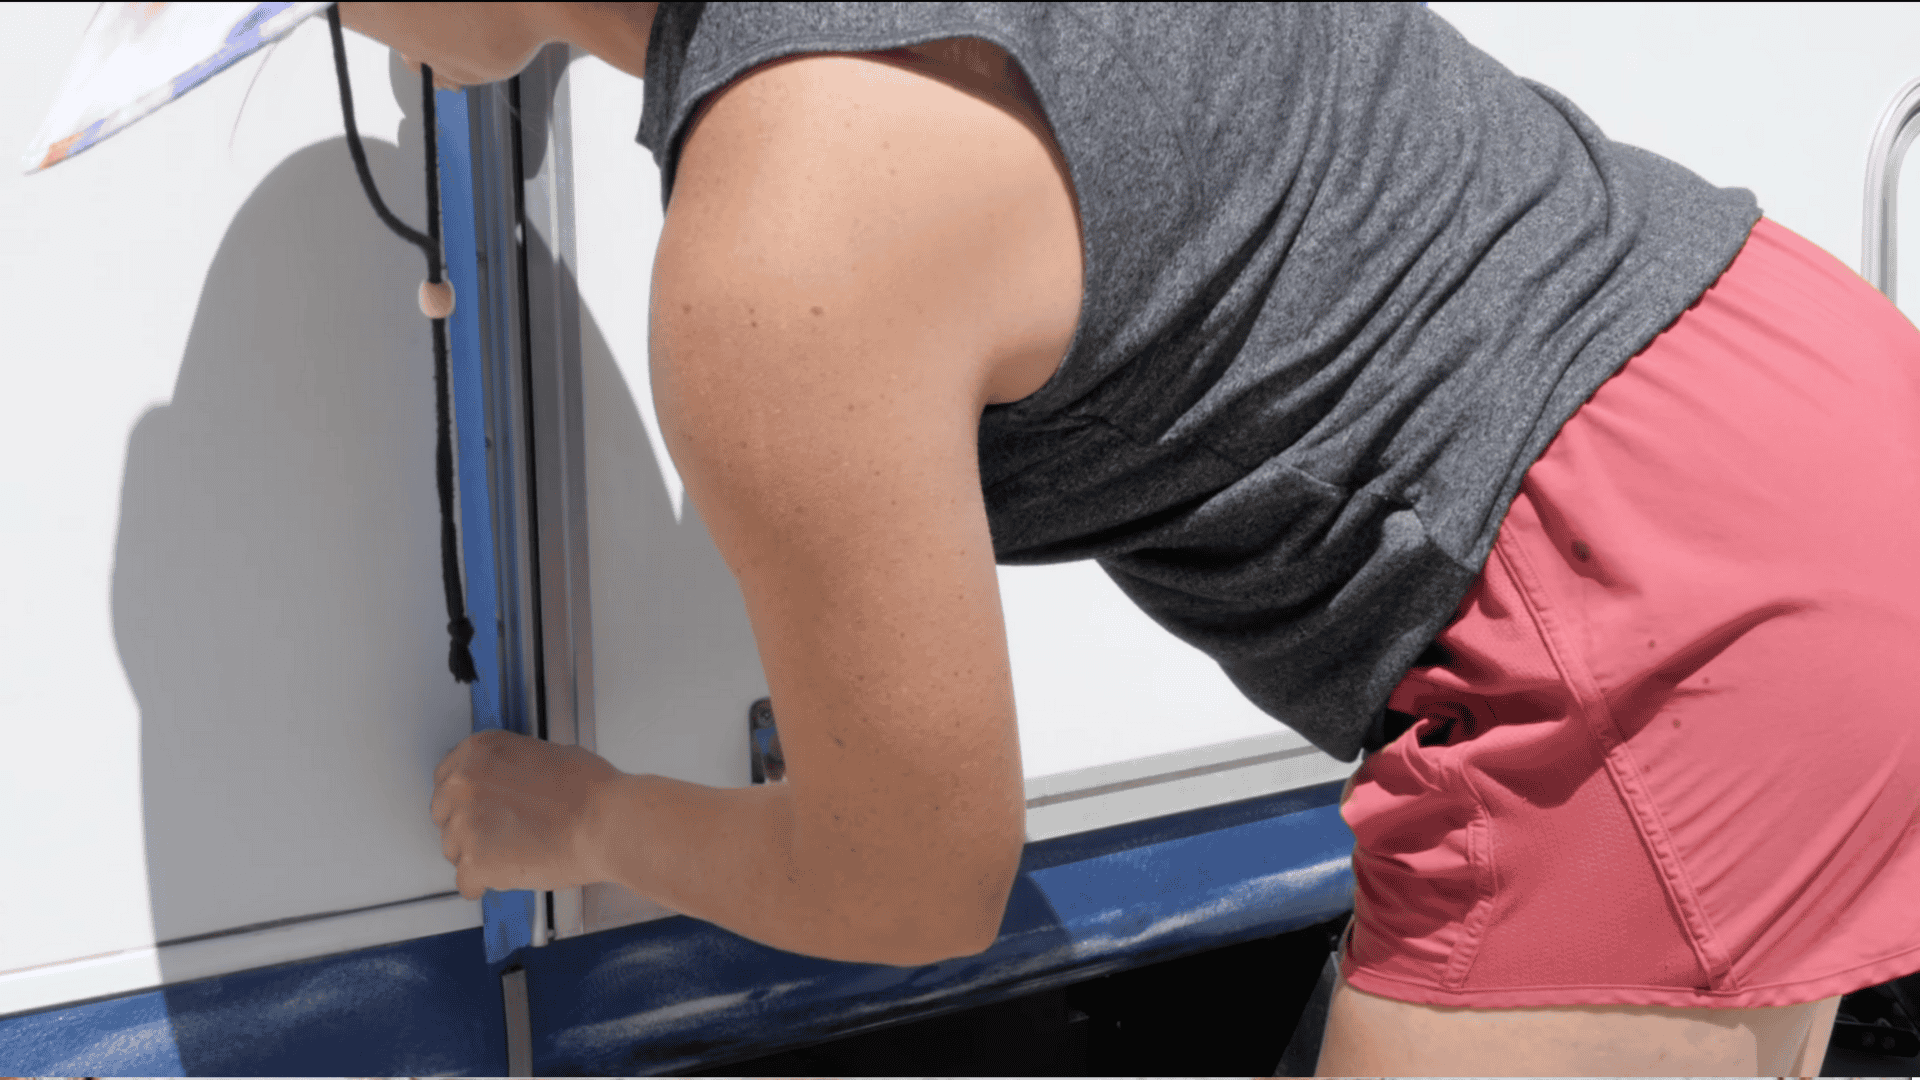
Step 1: Remove All Decals
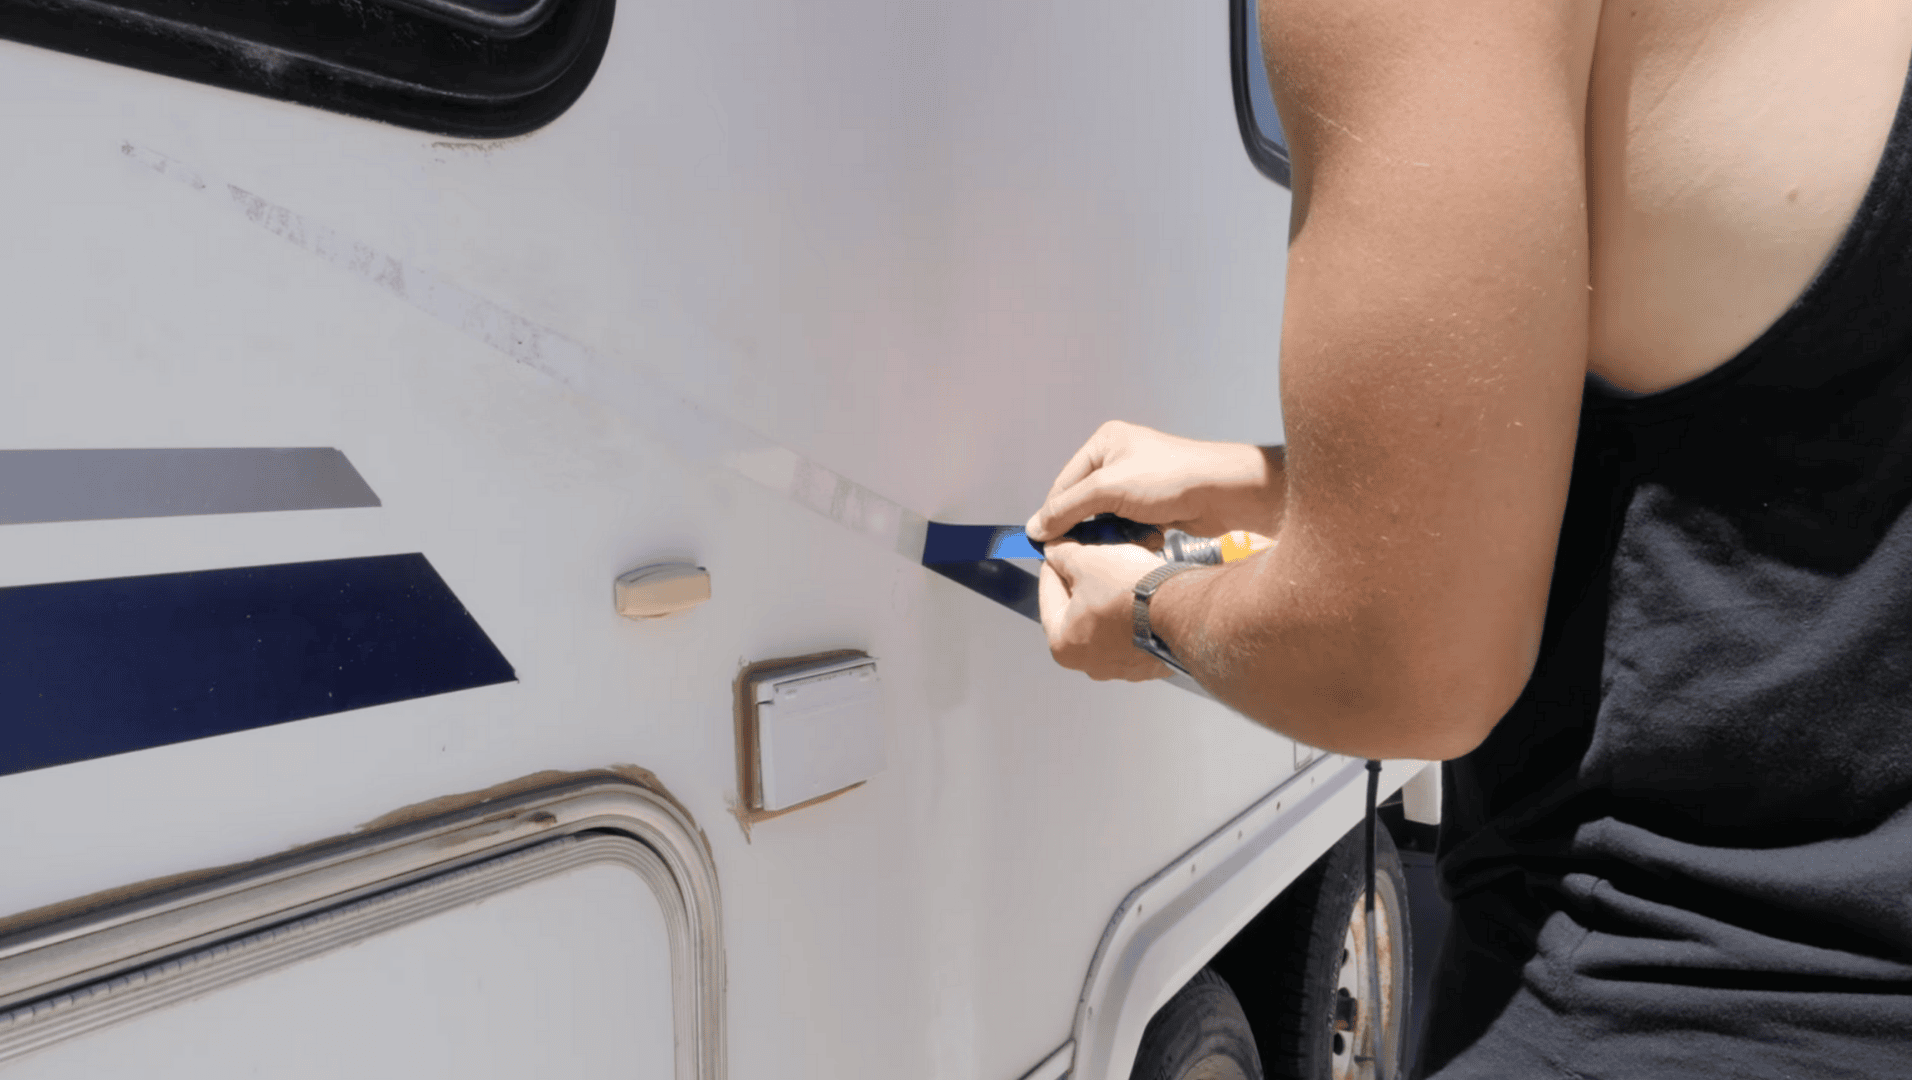
To take away previous decals from the trailer, use a glass scraper and a warmth gun.
The warmth gun helps soften the adhesive, however the knife facet of the scraper works finest for peeling.
Continue till all decals are off, leaving no adhesive behind.
A clear floor is important for sanding and priming later.
Step 2: Sand the Surface
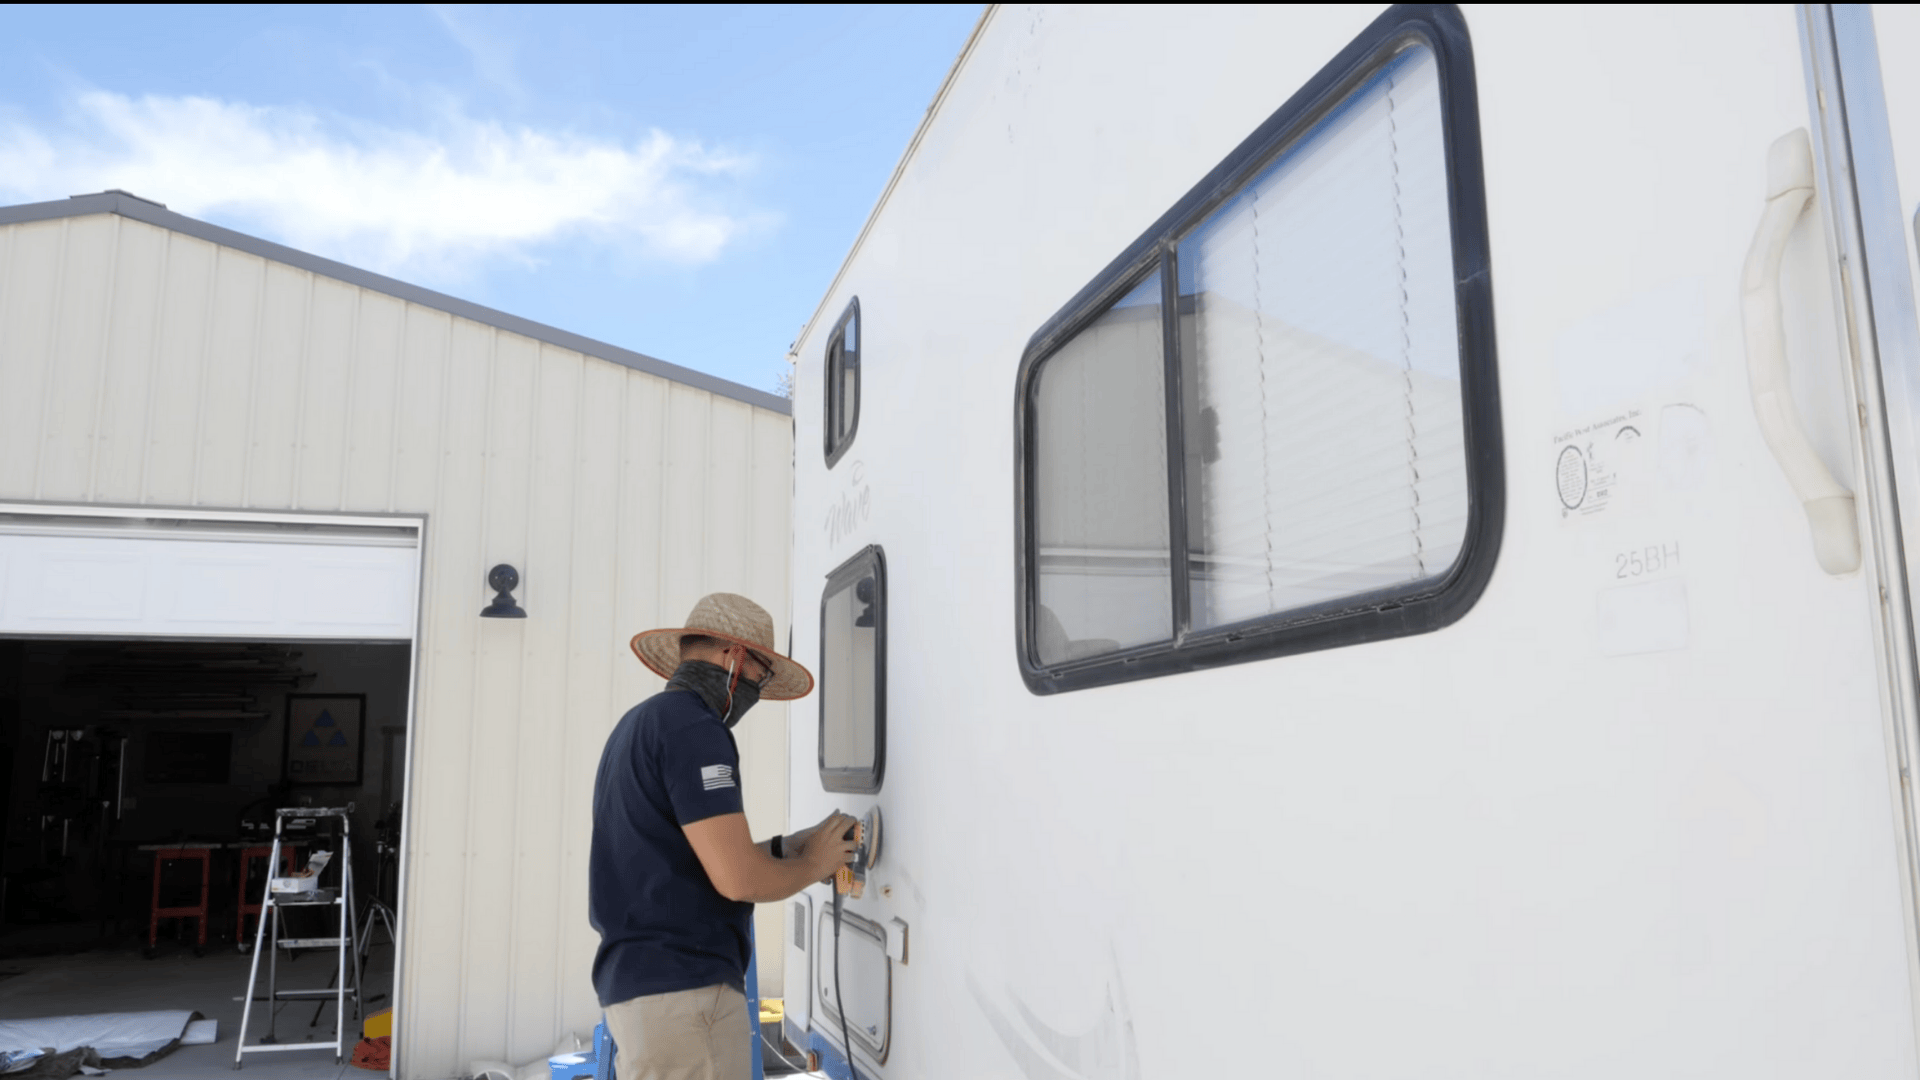
Use 120-grit sandpaper to scuff up the complete trailer floor.
This step provides the primer one thing to grip. Don’t press too onerous, and pay particular consideration to any leftover decal residue.
Sanding additionally ensures that your paint end will go on easily and evenly with out flaking later.
A couple of hours of effort right here go a great distance in sturdiness.
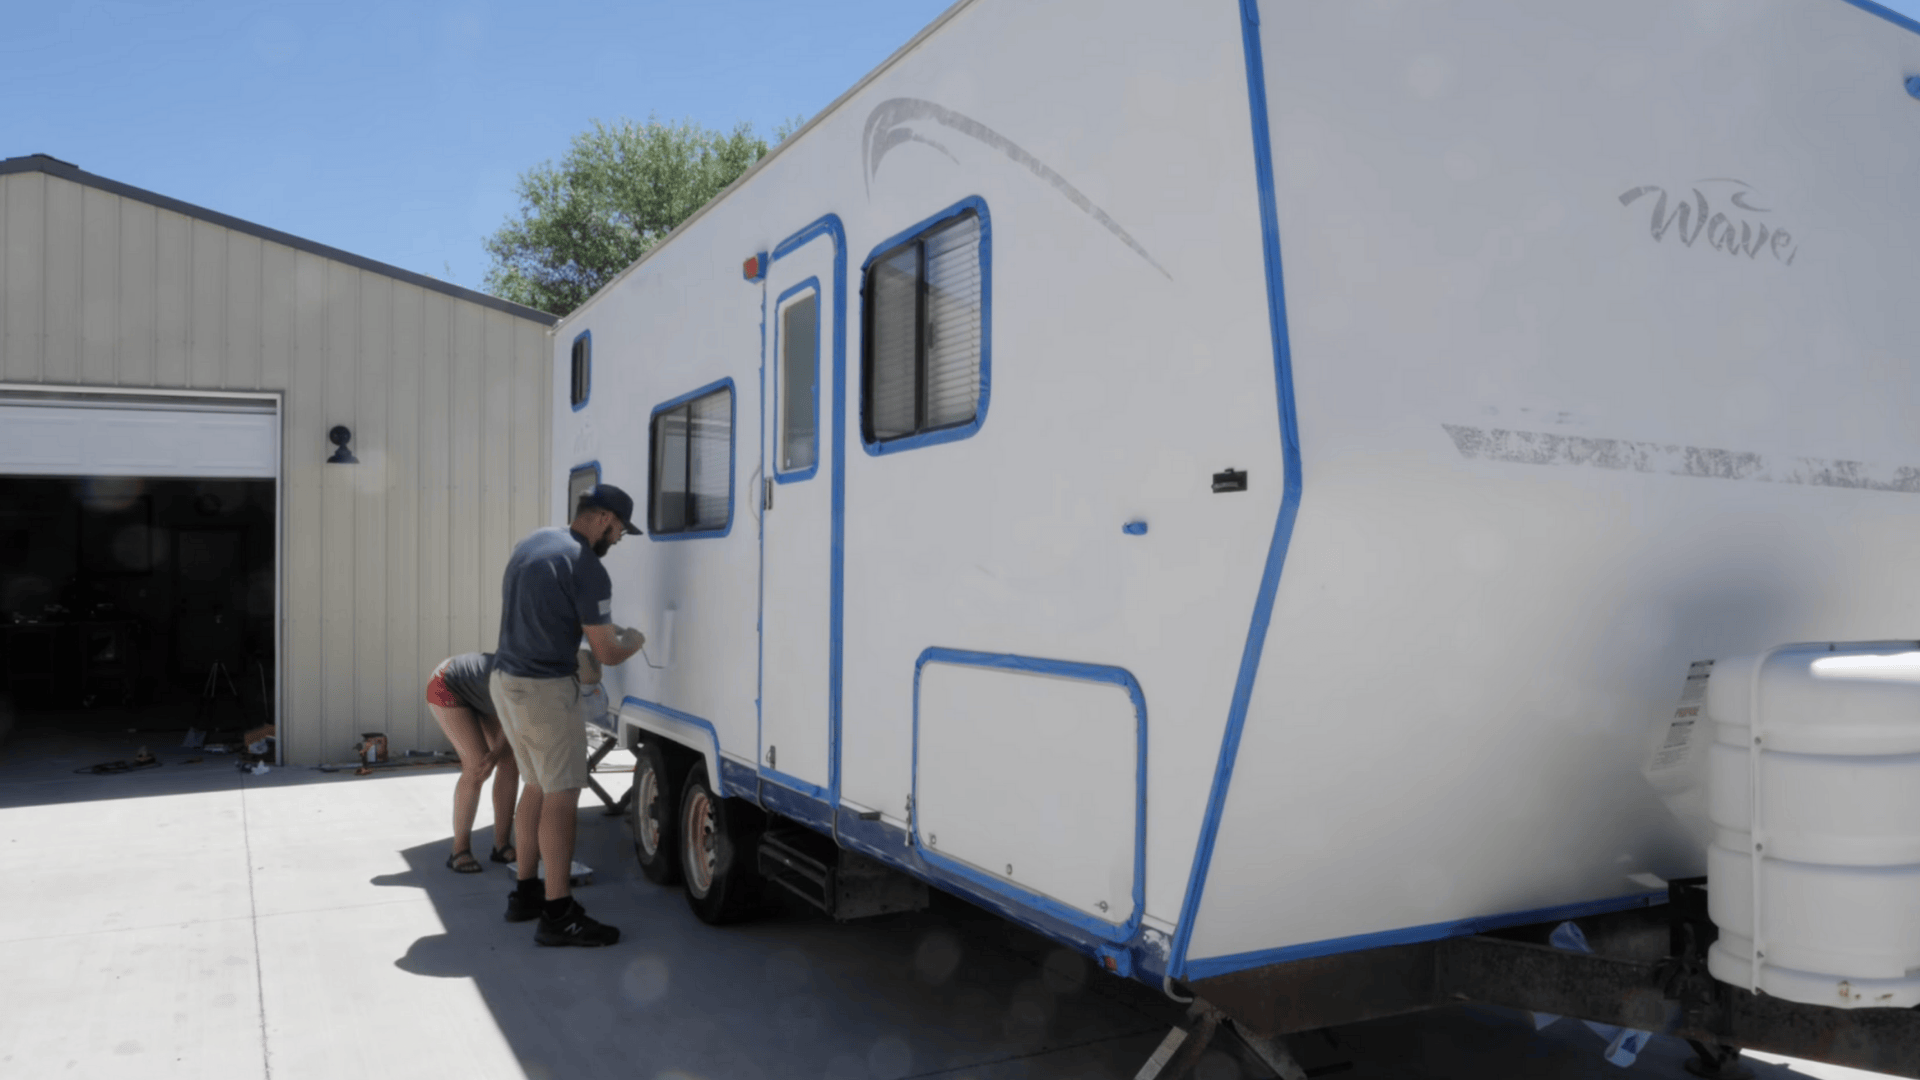
Step 3: Tape Off All Trim and Edges
Tape round home windows, trim, wheel flares, and any space you don’t need painted.
Be thorough.
Taping may take time, however it prevents messy strains and makes the ultimate consequence look clear.
If you’re not assured in freehand brushing, taping is important for sharp, pro-looking edges.
Precision right here will save time on touch-ups later.
Step 4: Apply the Primer
Use a fiberglass-safe exterior primer like Behr’s to coat the complete trailer shell.
This base layer helps the paint adhere higher and last more.
Apply evenly with a curler on giant areas and a brush solely the place wanted.
Allow it to totally dry earlier than shifting on to color.
Primer additionally helps seal the floor and enhance paint colour richness.
Step 5: Roll On the Base Color
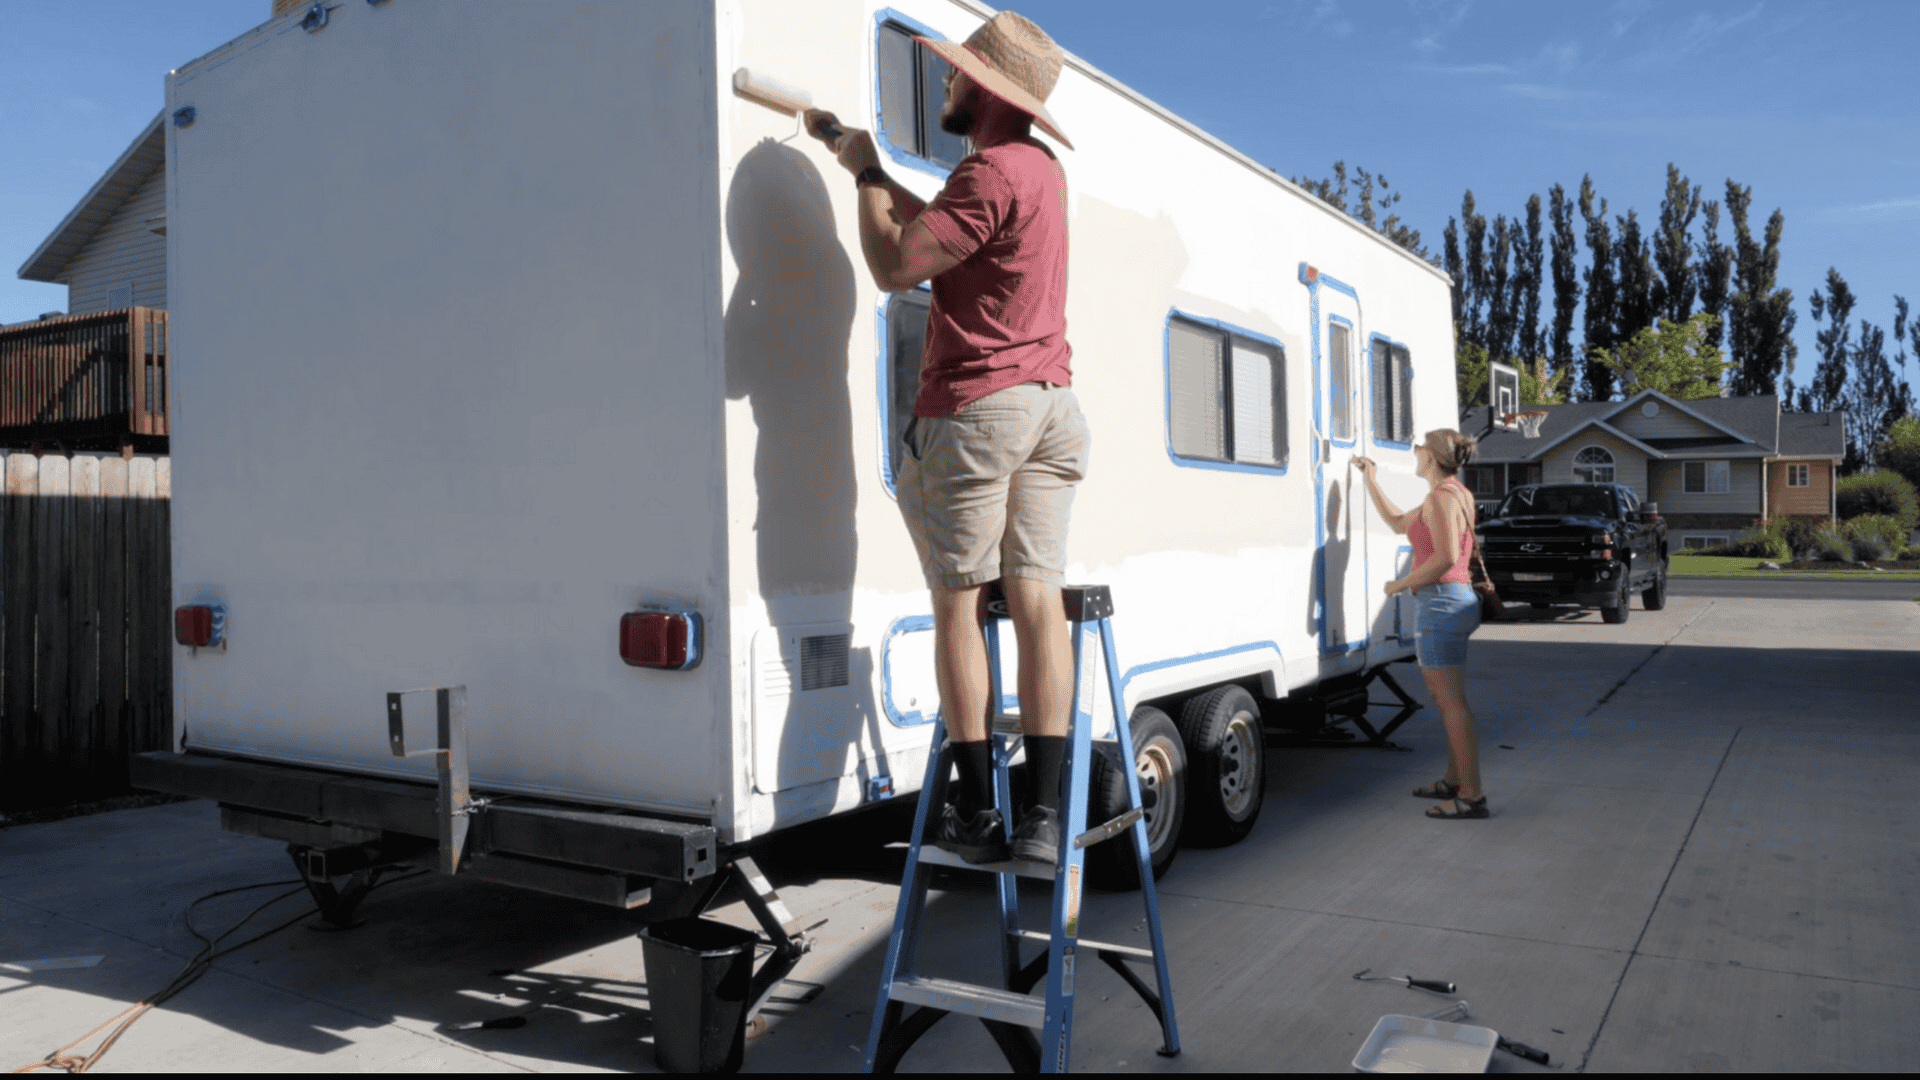
Begin together with your base paint colour.
Use a curler for a lot of the job and a brush for difficult edges.
Avoid overusing the comb to cut back seen strokes.
Apply two coats, making certain full and even protection.
Let the paint dry completely between coats.
This colour will type the muse on your total look.
Step 6: Add Accent Colors
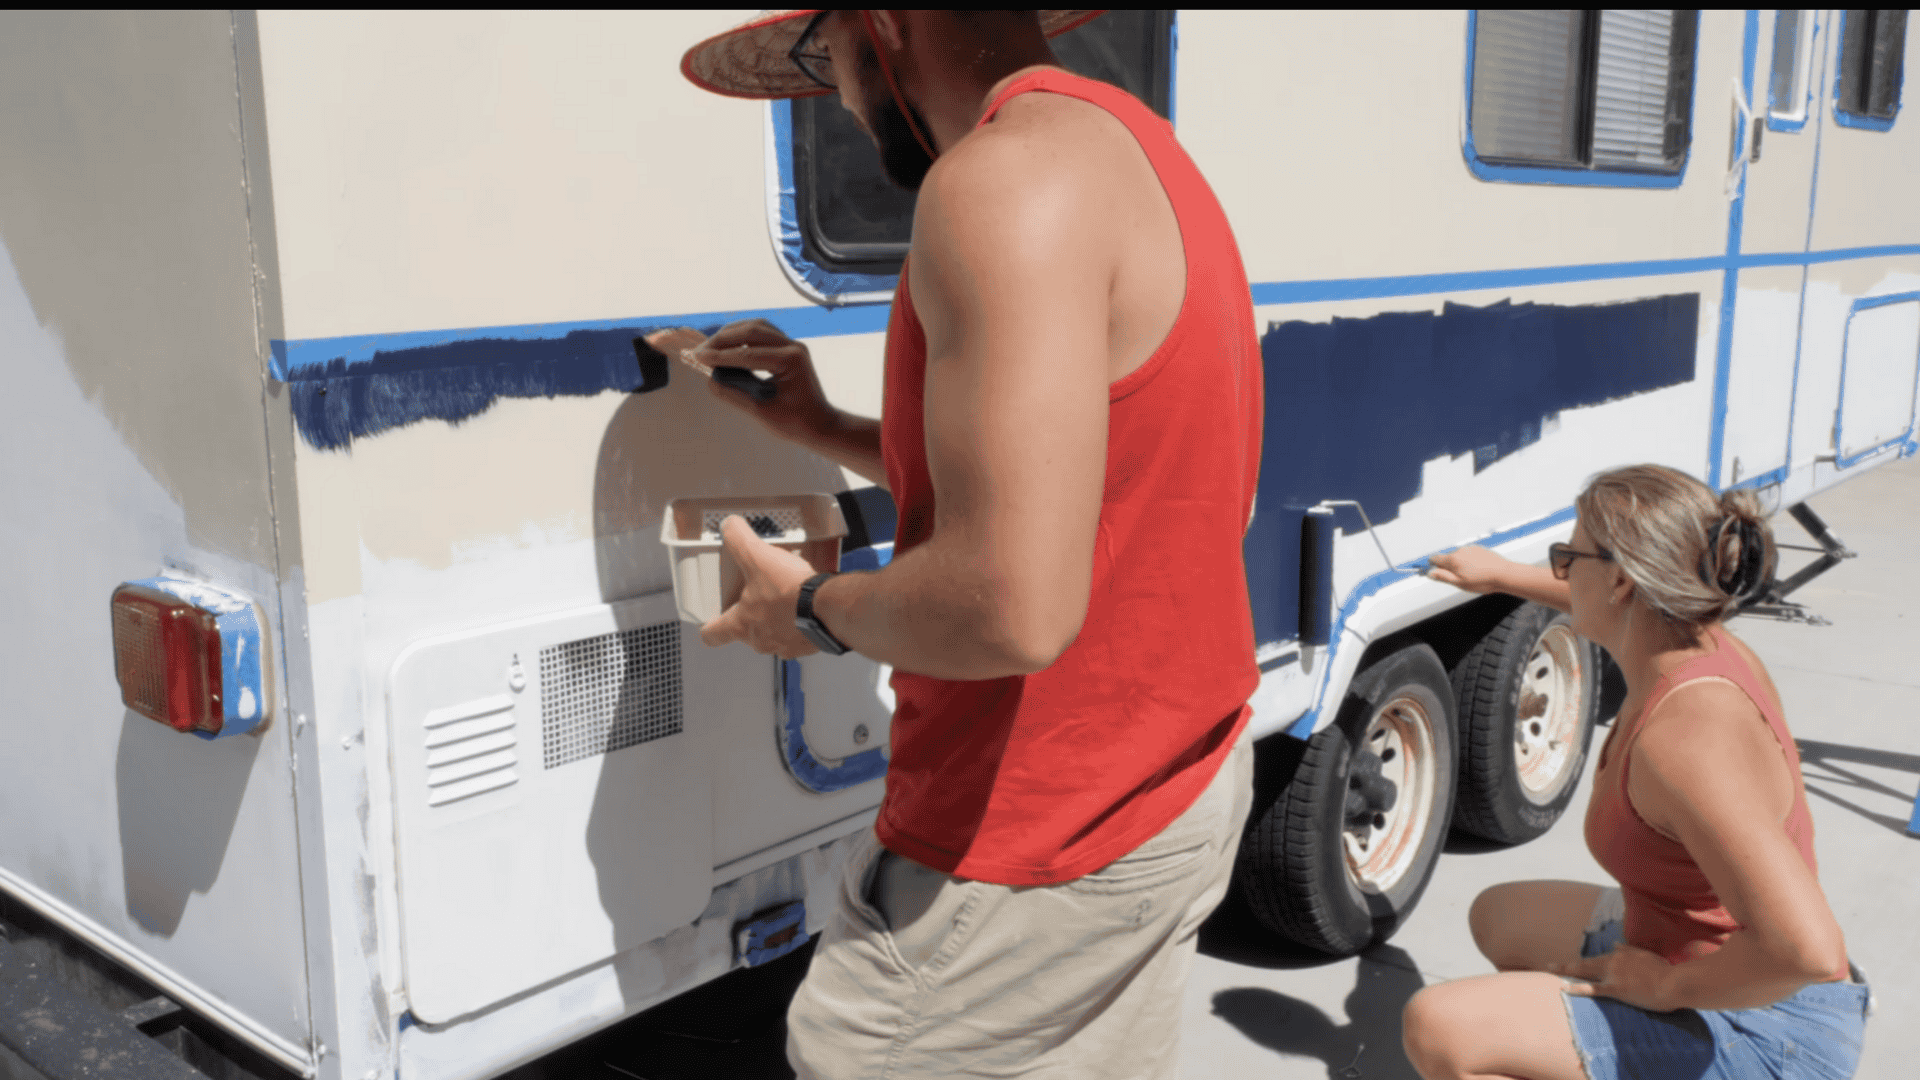
Tape off the areas for stripes or accents (e.g., Navy Blue, Burberry Teal).
Always paint downward from the tape to keep away from bleeding.
Do two coats, then take away the tape whereas the paint continues to be moist to get clear strains.
Repeat for every further colour part. Adding accents provides your camper type and persona.
Step 7: Paint the Wheels and Trim
Prime the wheels with the identical fiberglass primer.
Then, apply white oil-based paint utilizing a brush.
Spray black paint on hubcaps, the trailer tongue, and bumpers for a refreshed look.
Sand steel components frivolously earlier than portray to enhance adhesion and scale back rust.
These last touches pull the entire makeover collectively.
Watch How It’s Done: Camper Exterior Painting
For extra detailed data, try the video by Jesse Mullen — Mullen The Maker.
Camper Paint Care Maintenance Tips
A killer paint job deserves killer upkeep—right here’s how you can maintain your camper wanting showroom-fresh by way of numerous adventures:
- Regular light washing with delicate cleaning soap removes highway grime and bugs earlier than they grow to be paint enemies.
- UV-resistant wax each 3-4 months creates a protecting defend towards solar harm and oxidation.
- Quick touch-ups on chips and scratches forestall moisture from sneaking in and inflicting greater issues.
- Immediate cleanup of tree sap, hen droppings, and bug splatter earlier than they flip acidic and eat your paint.
- Smart parking in shade when attainable, plus breathable covers for long-term storage.
Stick to those fundamentals and your paint will keep vibrant mile after mile.
Your future self will thanks when that camper nonetheless turns heads on the campground years down the highway!
Common Mistakes to Avoid
Nothing’s worse than stepping again to admire your freshly painted camper solely to identify bubbles, streaks, or peeling paint.
These rookie errors can flip your weekend venture right into a expensive do-over:
- Skipping prep work as a result of soiled, unsanded surfaces assure paint failure inside months
- Using home paint because it’s not constructed for highway journeys and climate beatings like specialised RV paints
- Wrong climate timing, when it’s too sizzling, chilly, or humid, ruins how paint flows and cures
- Thick coat temptation, the place a number of skinny layers at all times beat one gloopy mess
- Rushing between coats when endurance pays off with correct adhesion
Take your time with every step.
Your camper will thanks with years of a beautiful, sturdy end that handles regardless of the highway throws at it.
Final Notes
Painting your camper may appear to be a giant venture, however it’s completely doable with some weekend warrior spirit and the proper strategy.
Classic white with blue accents or earthy forest greens do greater than look good.
They truly defend your funding from severe climate harm.
Sure, it’ll take a couple of days and a few elbow grease, however think about pulling into that campground with a rig that appears prefer it simply rolled off the lot.
Plus, with common washing and waxing, that recent paint will maintain turning heads for years.
Your camper, your journey, your type.
Ready to gear up your freshly painted camper?
Explore our Camping Setup & Essentials for must-have gear and setup ideas!
[ad_2]