[ad_1]
Dogs wish to get cozy as a lot as their human companions (some much more so). This DIY makes use of an outdated foam pad and sleeping bag to make a light-weight canine mattress so your pup is as cozy as you in your subsequent backpacking journey. If you don’t have outdated gear mendacity round, search for cheap used gear via REI Co-op Re/Supply or a secondhand retailer, or ask round for reasonable or free used gear.
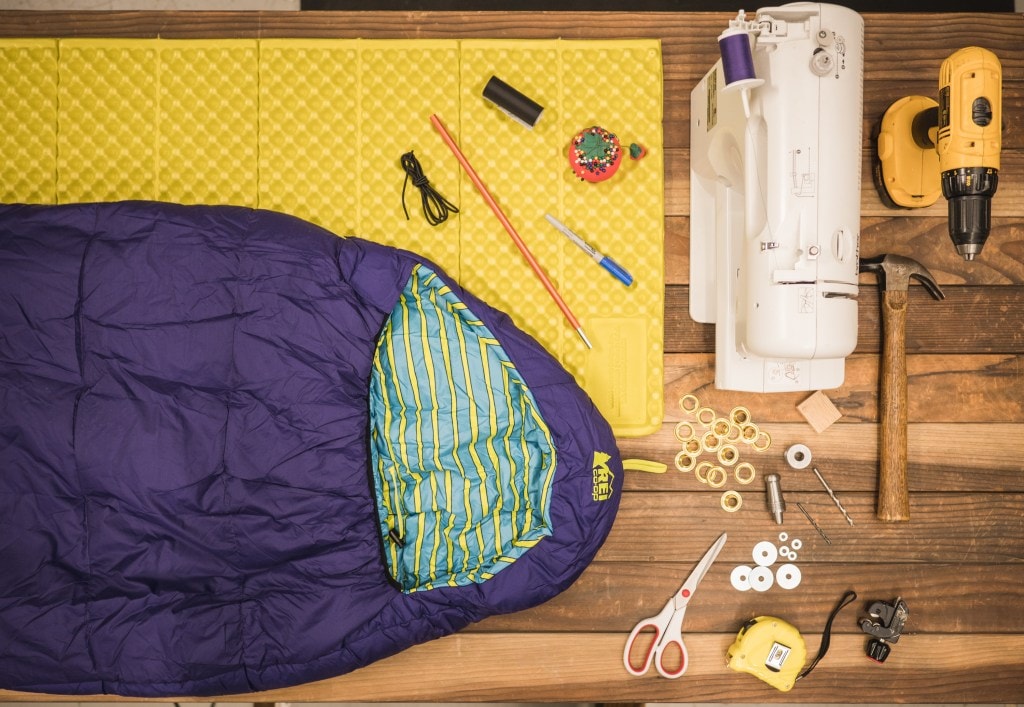
Materials:
- Old closed-cell foam pad, like a Therm-a-Rest Z-Rest or different closed-cell foam pad
- Old sleeping bag or quilt
- Heavy-duty thread or thread in an identical colour to bag
- Four grommets with set up package
- Four 6-inch items of shock wire, with ends melted if obligatory to stop fraying
- Four dowel items, round 1 1/4-inch lengthy, for use as toggle closures (they should match via grommets; we used tent pole items however small wooden dowels would work as properly)
- Four small washers
- Four giant washers that received’t match via grommets
Tools:
- Heavy-duty or material scissors
- Chalk
- Pins
- Sewing machine or stitching needle
- Hammer
- Lighter
Directions:
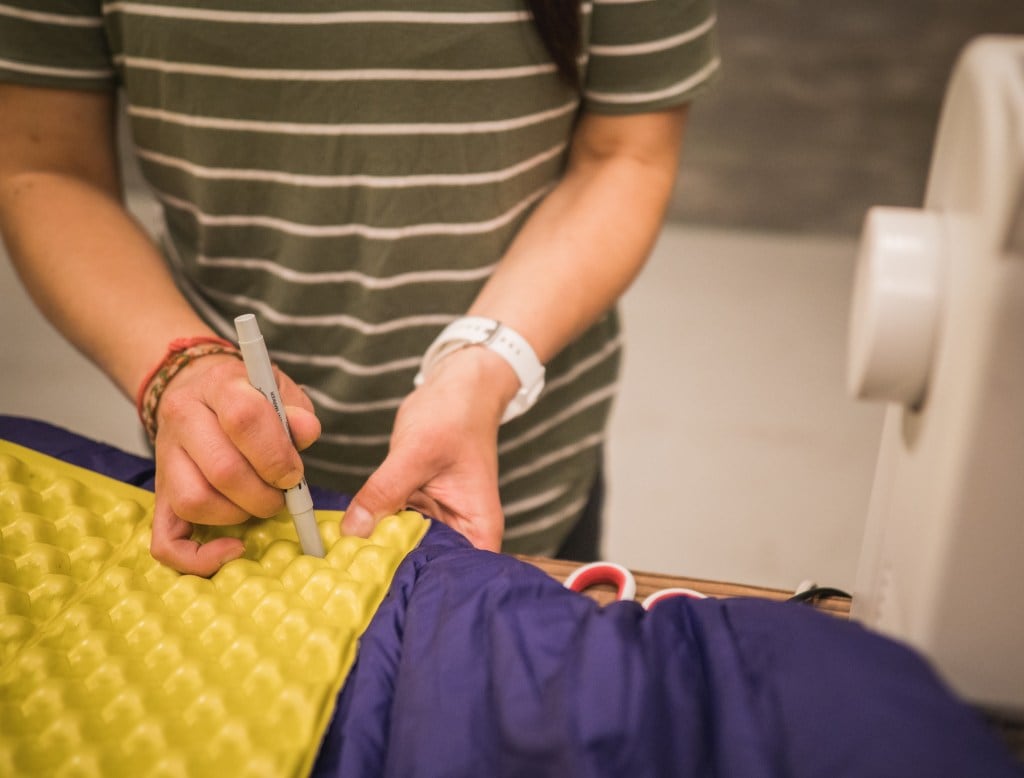
1. Cut foam pad to measurement
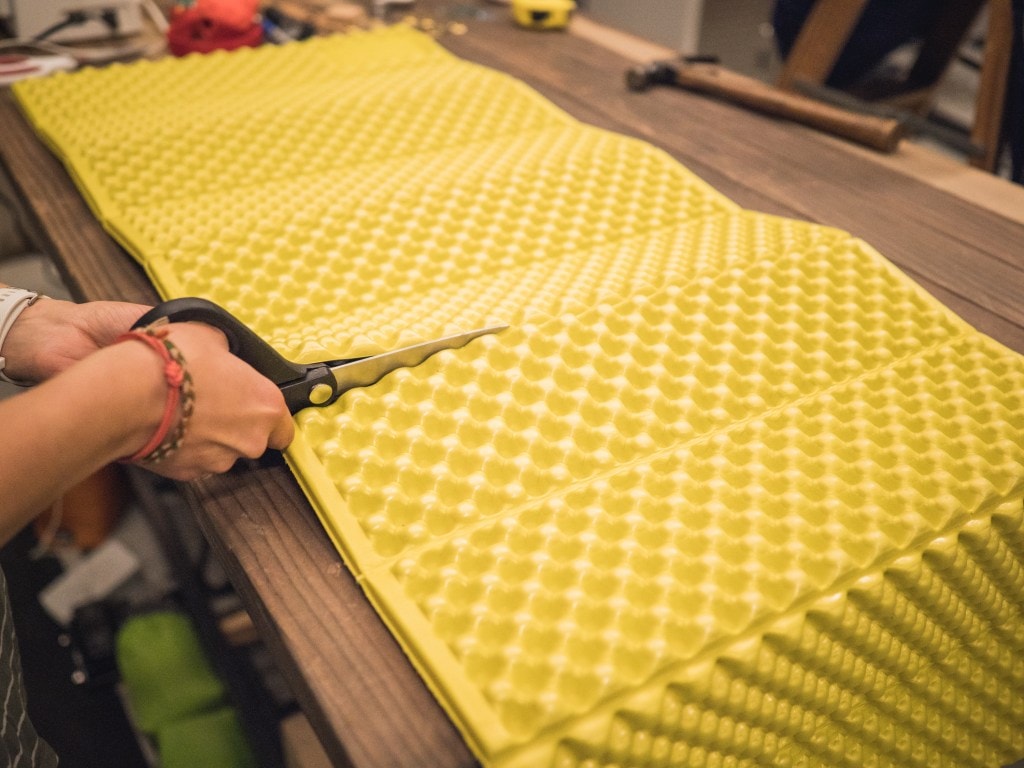
Use scissors to chop the froth pad to measurement in your pup to lie on. Use a Phillips screwdriver or a sharp pen to make a small gap in every nook of the pad about 1 inch from the sides.
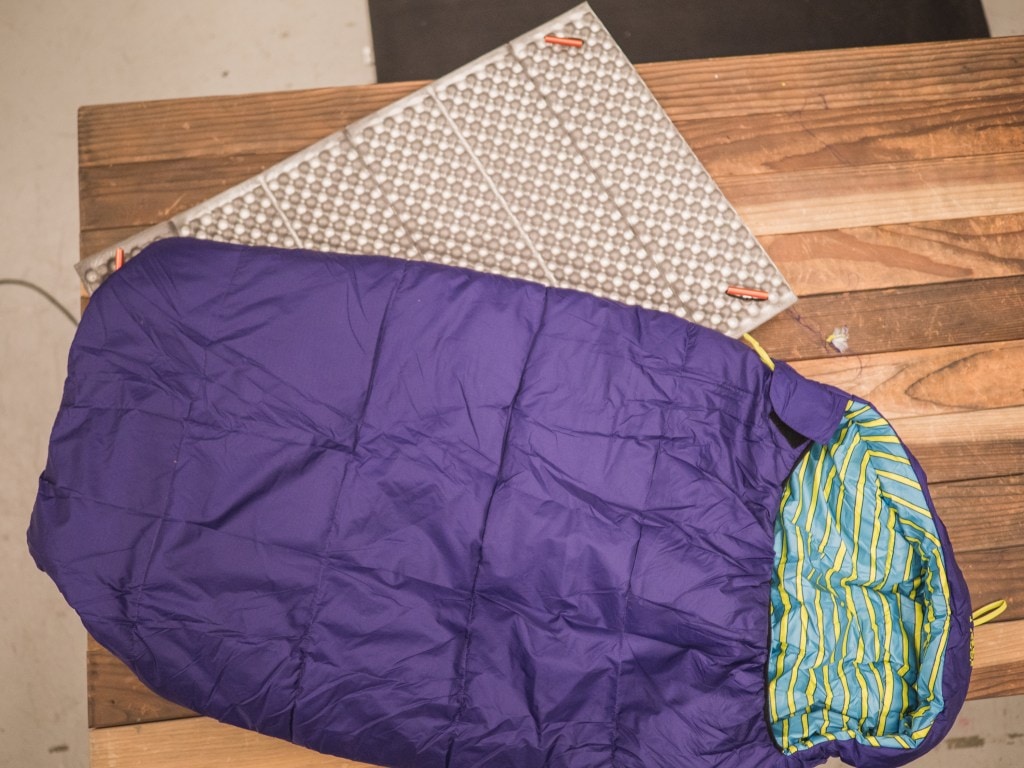
2. Mark sleeping bag size
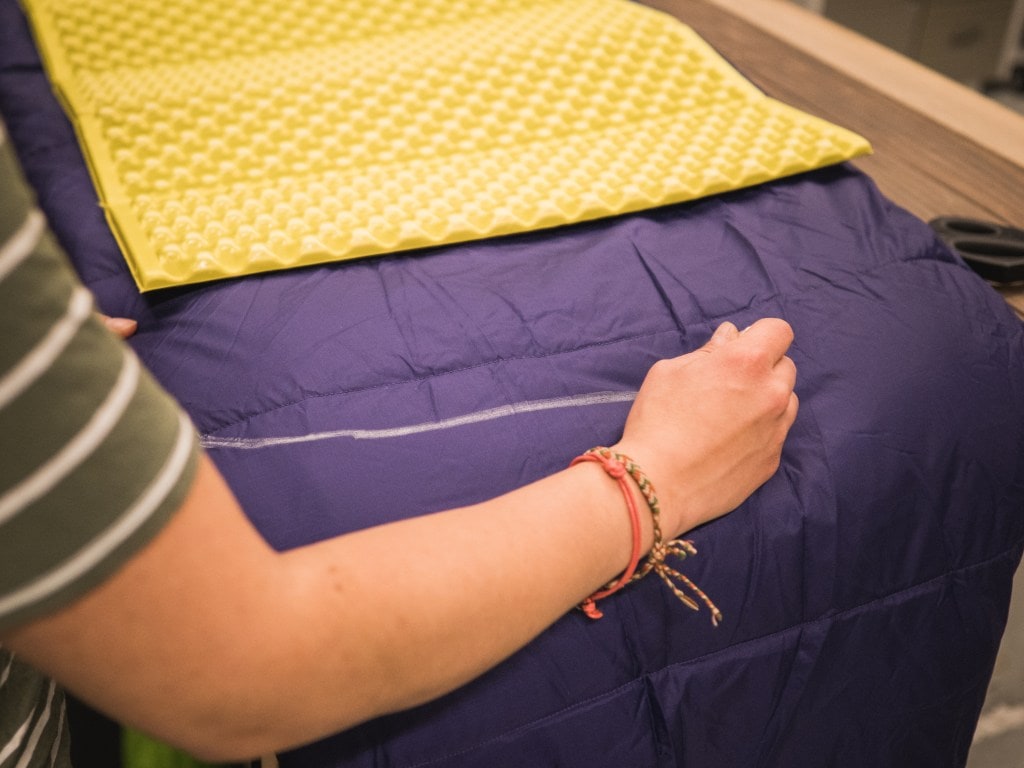
Make certain the sleeping bag is zipped closed. Place the froth pad on high of the bag with one edge aligned with the highest entrance of the bag (the place it reaches your neck), ensuring all 4 corners are on the bag. Using chalk, make a barely curved line on the bag about 4 inches beneath the sting of the pad, ideally just under a baffle. If you’re utilizing a down bag this can assist reduce the variety of feathers misplaced.
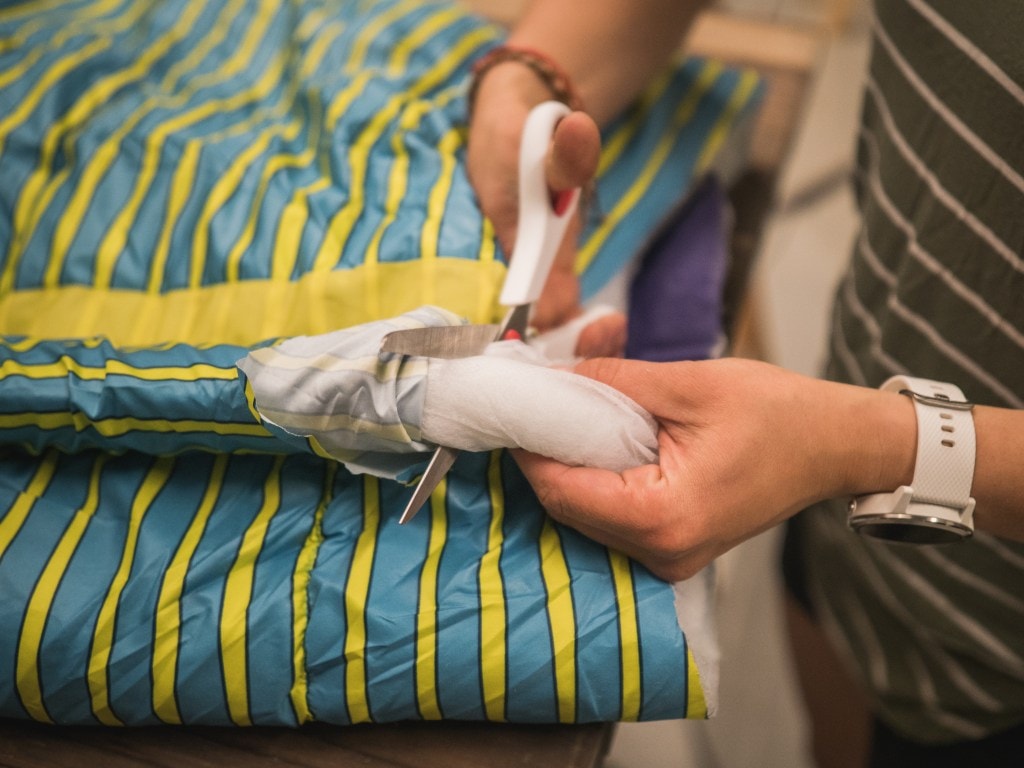
3. Cut sleeping bag to measurement

Starting from the non-zipper aspect, use scissors to slowly lower alongside the chalk line. It could also be simpler to chop one aspect of the bag first after which match the lower on the opposite aspect. When you attain the zipper, lower straight via.
4. Sew uncooked edges collectively
Turn the sleeping bag inside out. If the bag has artificial insulation like ours, trim the insulation again with scissors so you’ve got room to stitch the sides collectively and pin the material closed.
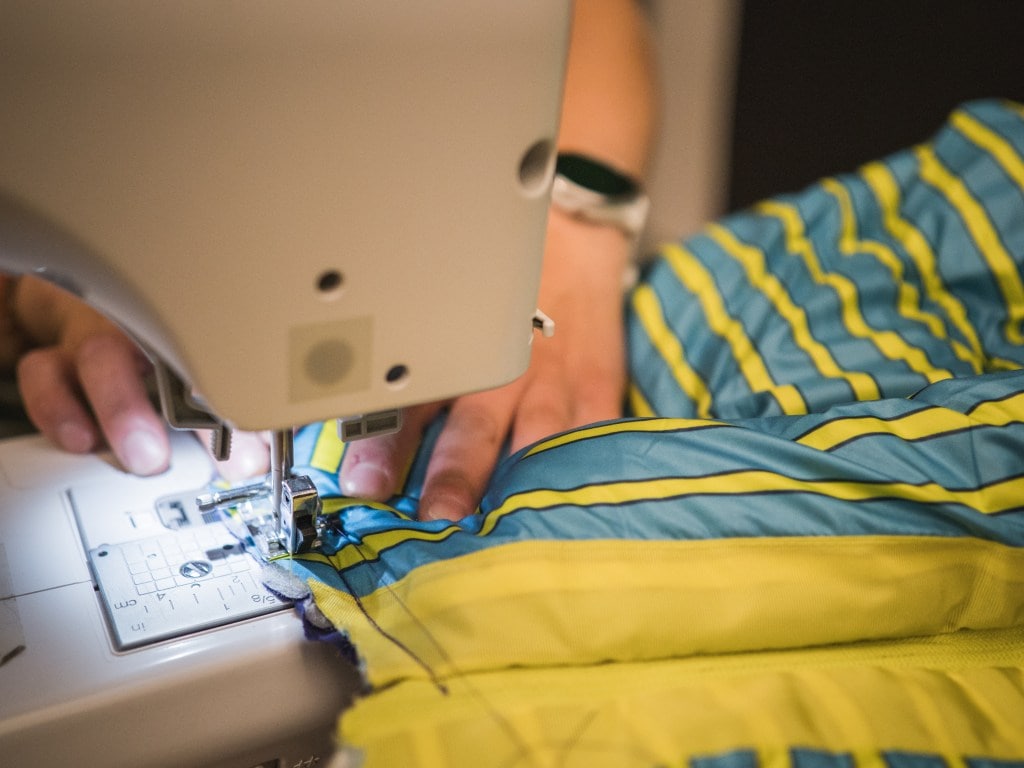
Using both a stitching machine with a powerful needle or hand stitching utilizing a backstitch, sew the uncooked edges collectively to carry within the insulation, leaving a 5/8-inch seam allowance. Make certain to stitch over the tip of the zipper. Trim additional thread.
5. Sew sides of sleeping bag collectively
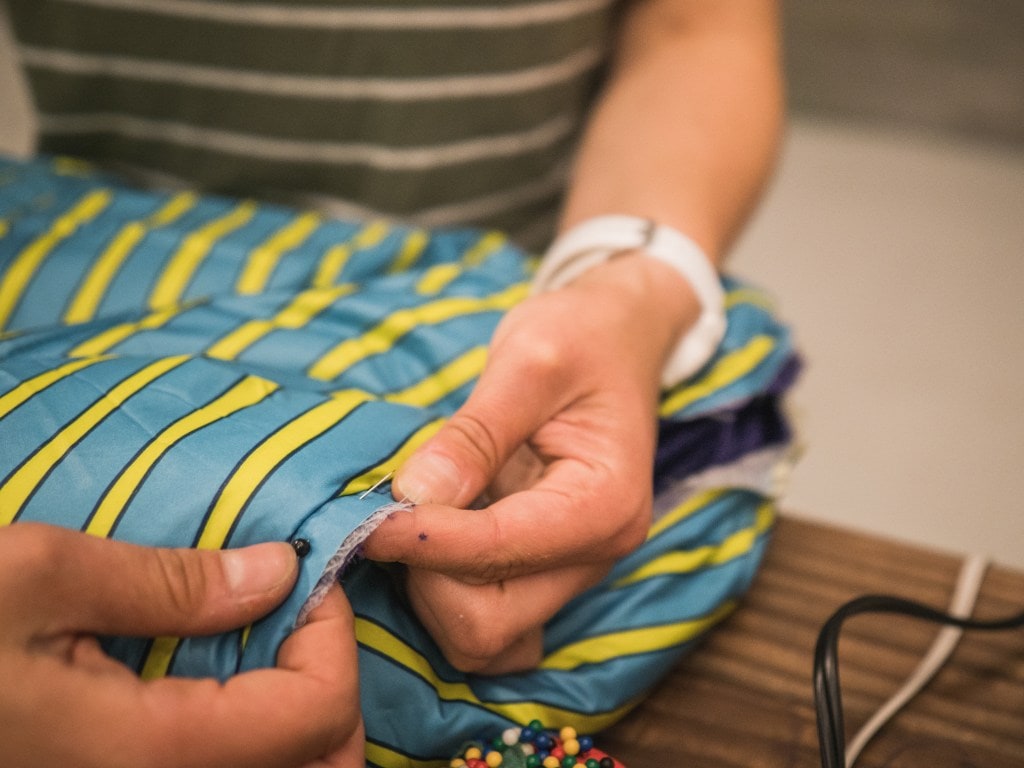
With the sleeping bag nonetheless inside out, pin the underside edges of the sleeping bag collectively. Make certain the zipper is on the periphery.
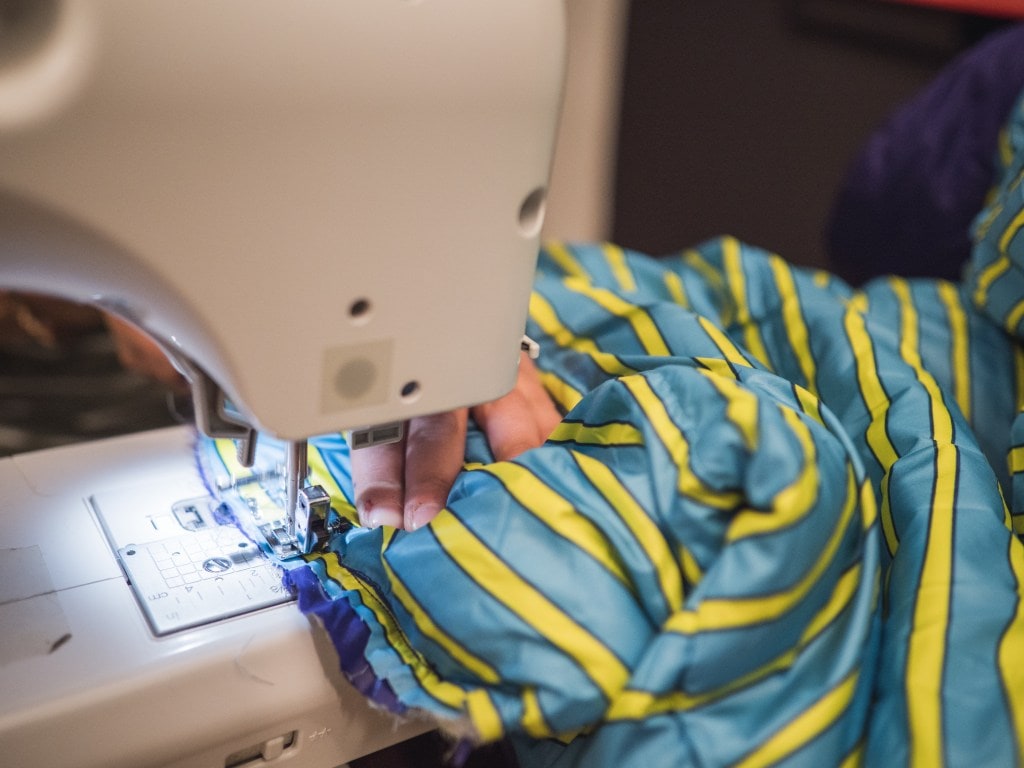
Using a stitching machine with a powerful needle or hand stitching utilizing a backstitch, sew the sides collectively, leaving a 5/Eighth-inch seam allowance. Make certain to stitch over the tip of the zipper. Backstitch at each ends to safe and trim additional thread.

Turn the bag right-side out. You now have a doggie sleeping bag!
6. Add grommets to sleeping bag
Turn the sleeping bag the wrong way up once more and lay the froth pad on high. Mark the place the holes punched within the pad hit the sleeping bag.
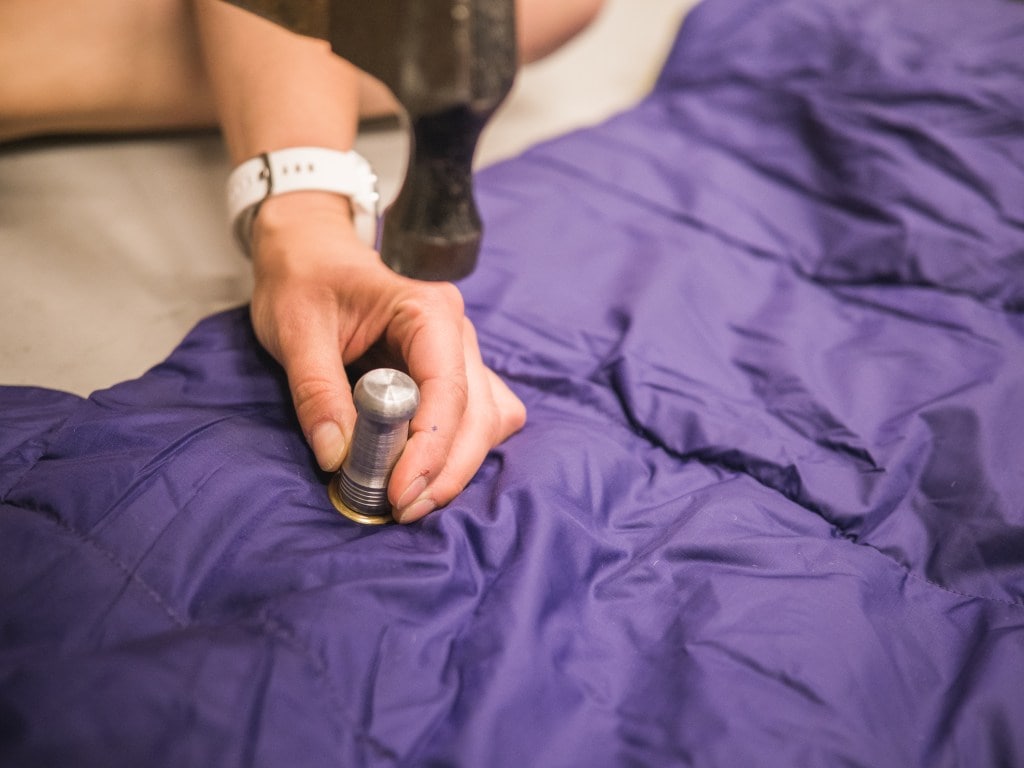
Set the pad apart and unzip the bag. Use the grommet device to put in a grommet at every mark within the backside layer of the sleeping bag solely. (Make certain you’re engaged on a tough floor that received’t dent when putting in grommets.)
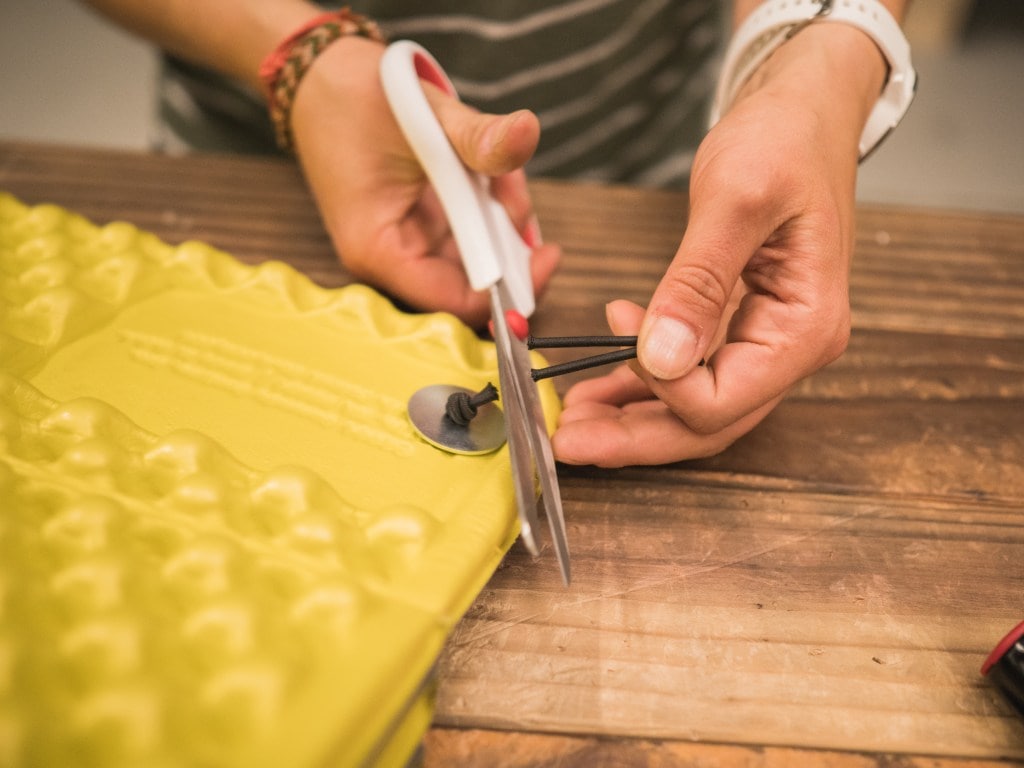
7. Add attachment toggles

Assemble your dowel items and shock wire. We used outdated tent pole items, lower to 1 1/4 inch and sanded, with the shock wire operating via the middle. You may also use plastic toggles or wood dowels with a gap drilled within the center to loop the wire via.
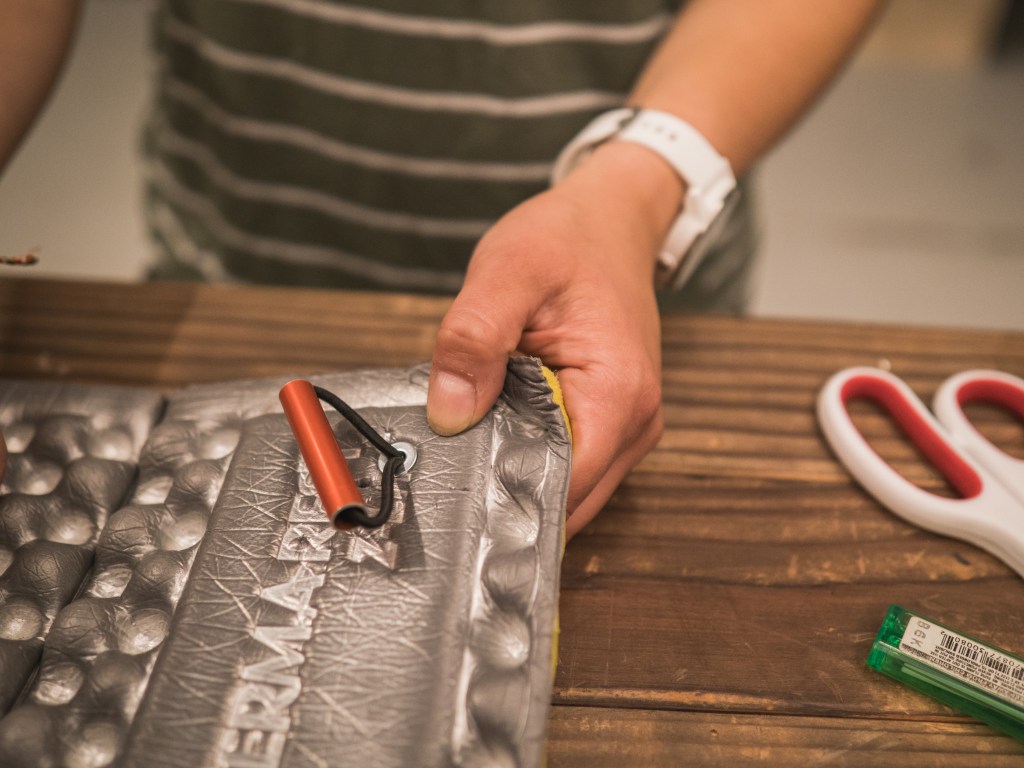
Slide a small washer onto the free ends of a chunk of shock wire with a toggle, then thread them via a gap within the foam pad with the toggle on the highest aspect of the pad.
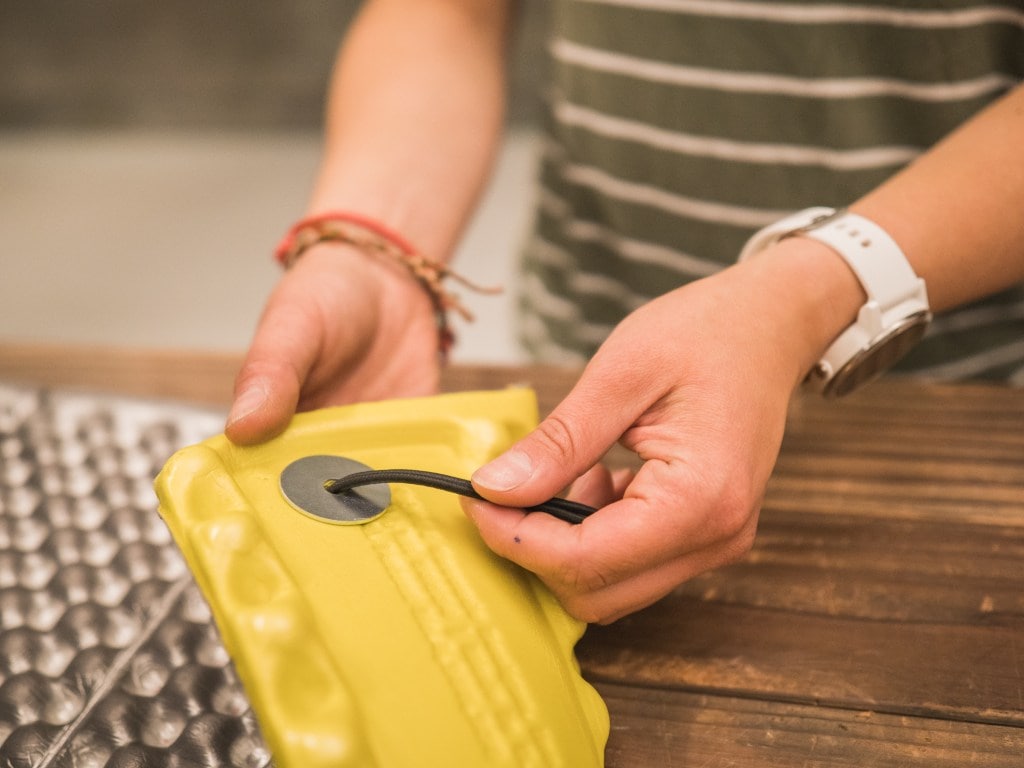
Slide a big washer that received’t match via the grommet onto the wire.
8. Attach sleeping bag and foam pad collectively
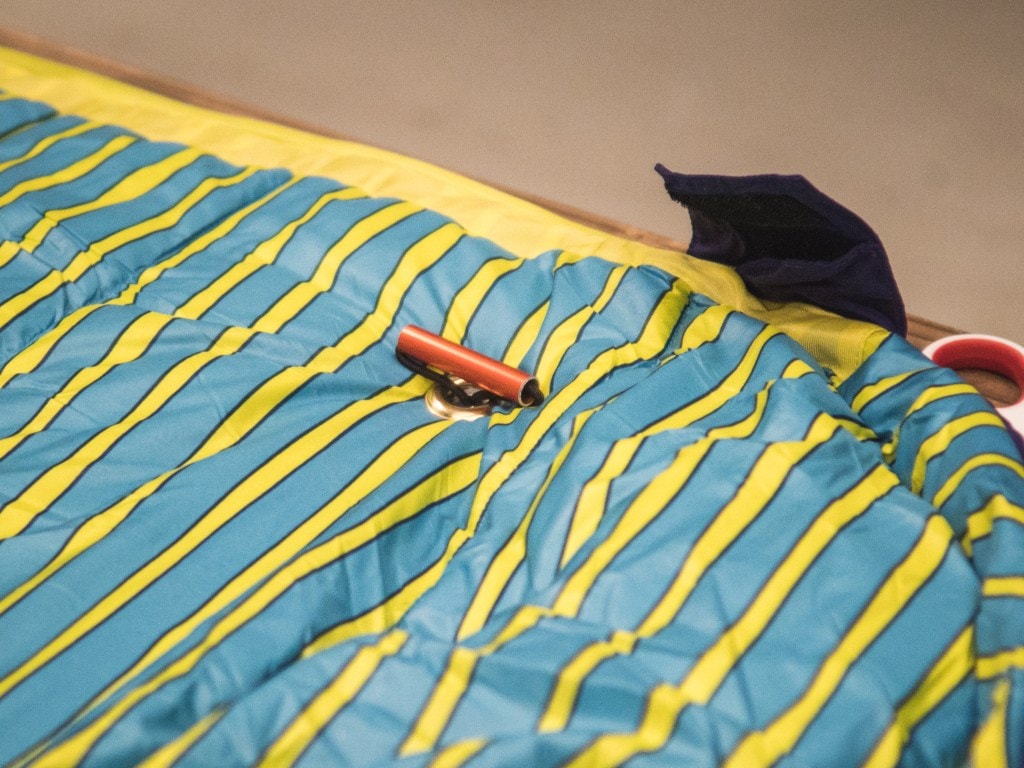
Place the sleeping bag on high of the pad and thread the toggles via the grommets, rotating them in order that they lie flat. Gently pull the shock wire down so the sleeping bag and foam pad are comfortable.

Without any stretch within the wire, tie an overhand knot within the free ends of the wire to safe.
Trim the surplus wire and punctiliously use a lighter to soften the unfastened ends to stop fraying.
9. Go tenting!
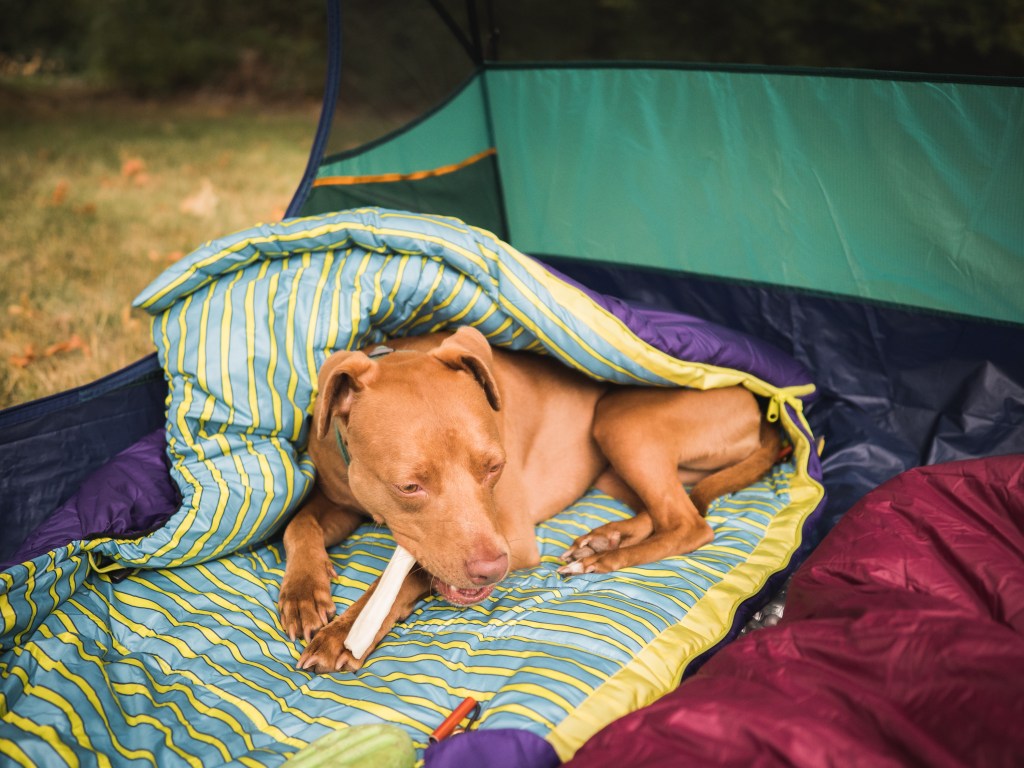
Hit your favourite dogs-permitted path, arrange camp and get cozy. The pad and bag will be packed individually to suit simply in a backpack, and you should use the froth as a sit pad for your self throughout a hike. Check out our ideas for backpacking with canines for much more methods to benefit from your in a single day journeys.
Editor’s Note: This article was initially revealed on August 3, 2018.
[ad_2]